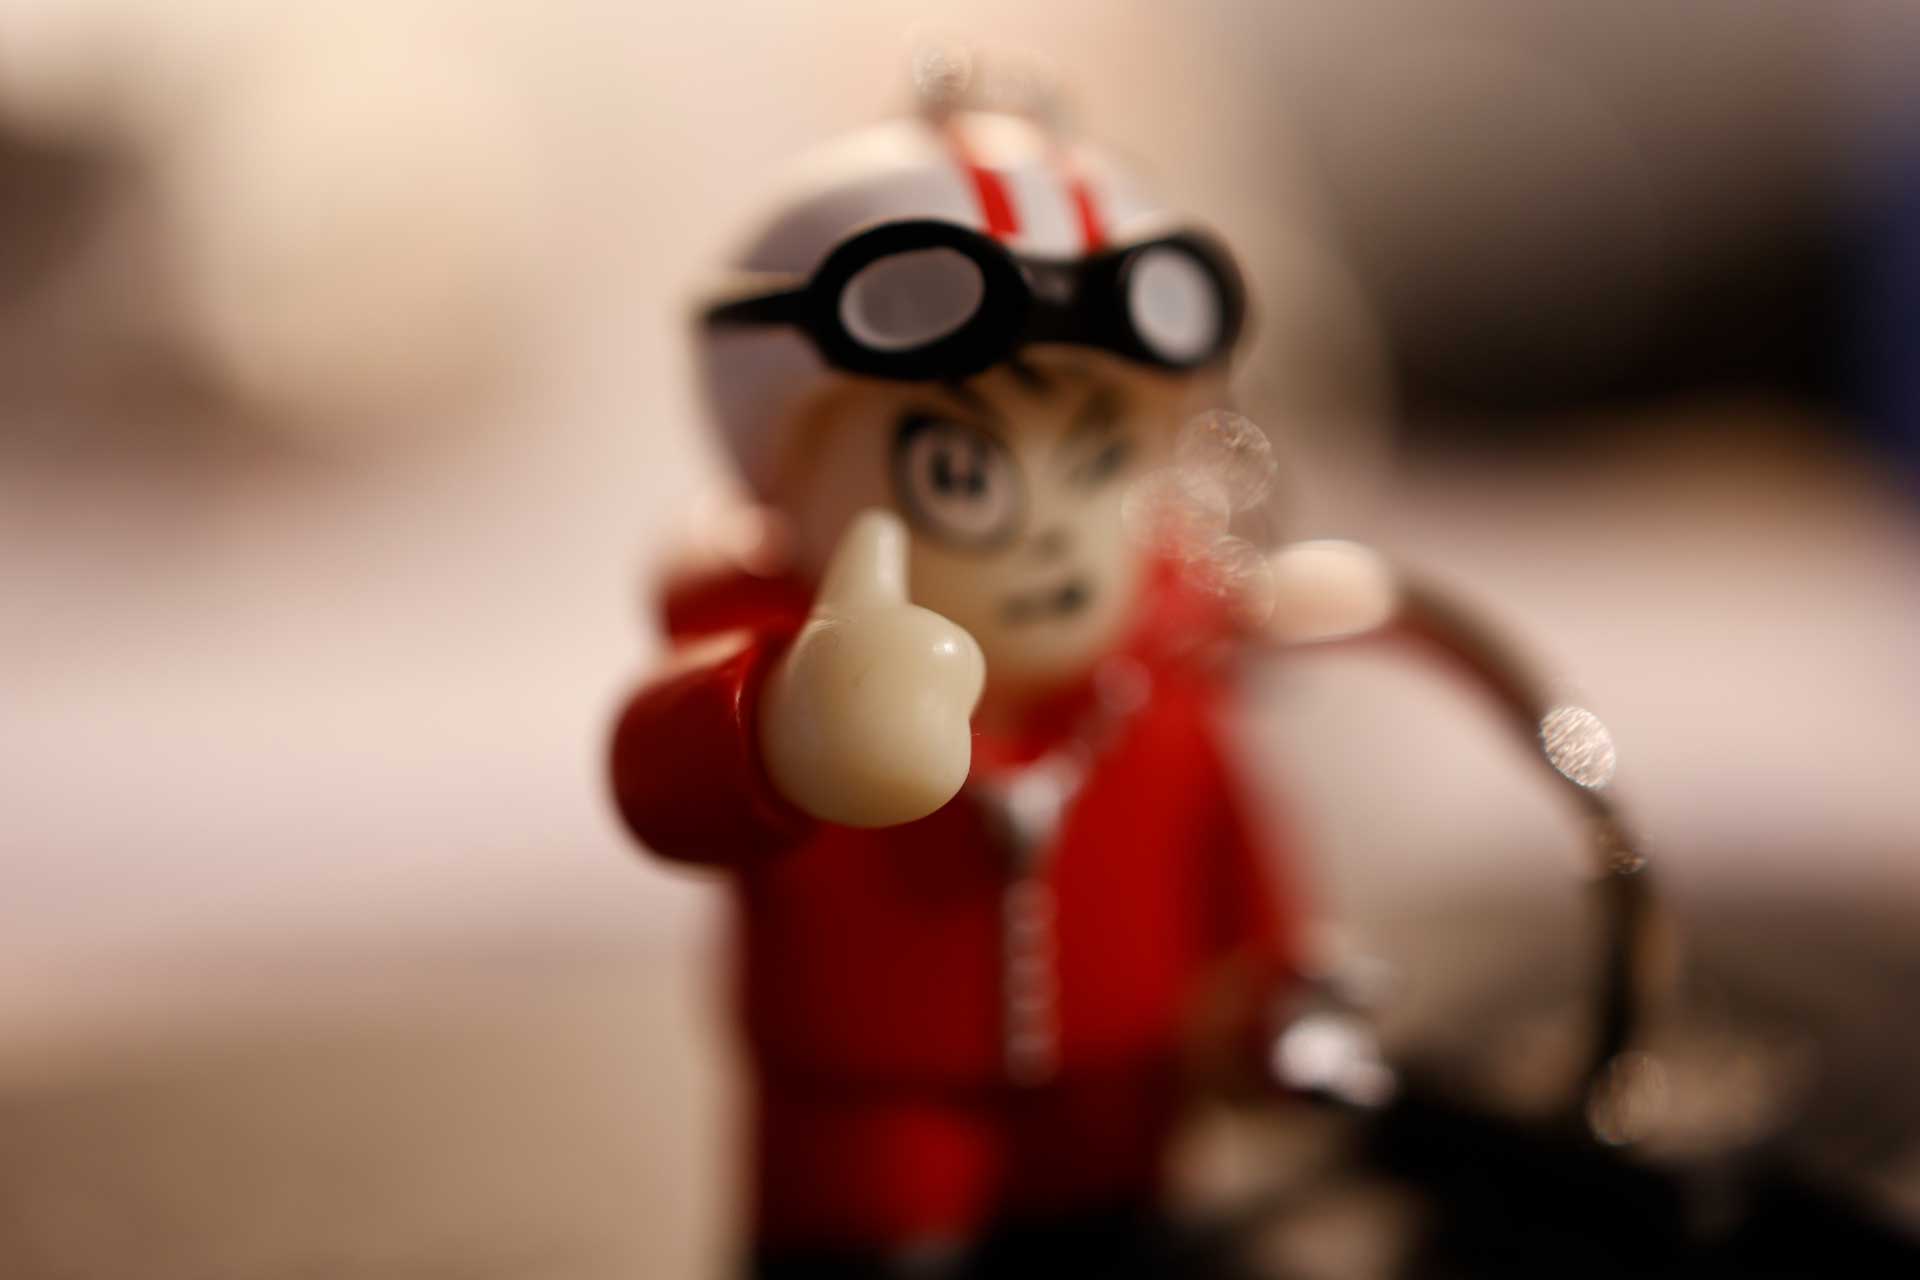
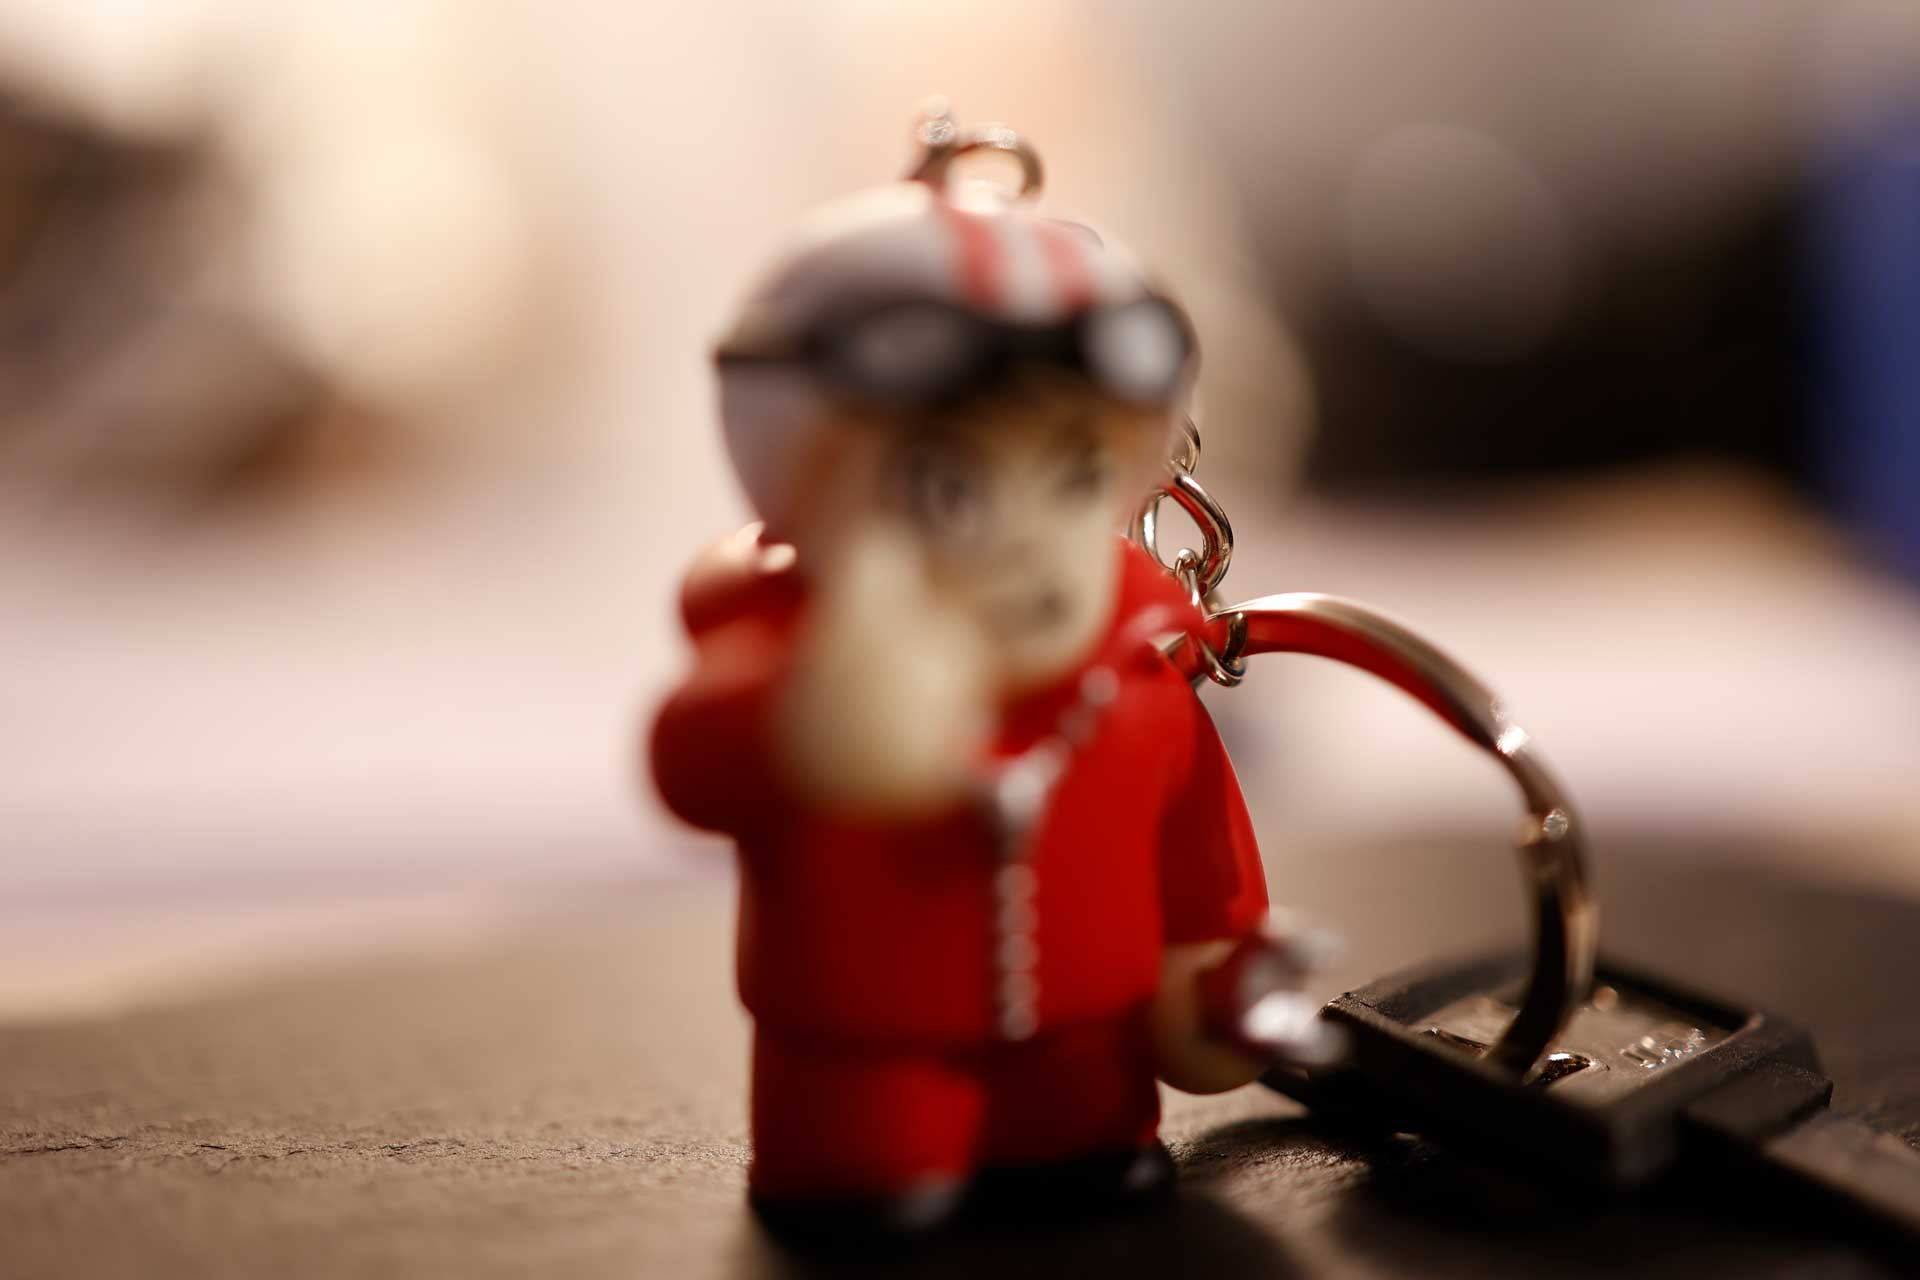
The closer you get to a subject, the smaller the depth of field becomes. Even when stopping down to 16 or 22, the depth of field is limited in macro shots. With a so-called "focus stack", you can extend the depth of field almost indefinitely. The key to this is the focus bracketing function.
The factors that influence the depth of field are the aperture, the focal length of the lens, the shooting distance and the sensor size. In the close-up and macro range, the magnification replaces the shooting distance as the limiting factor. As a rule of thumb, you can say that the depth of field decreases disproportionately when you get into the close-up and macro range. As a rule, a reproduction scale of 1:2 is referred to as the close-up range and when it approaches 1:1 and beyond as the macro range. 1:1 means that the object to be photographed is exactly the same size on the image sensor as it is in reality. The depth of field then becomes extremely shallow, no matter how wide you stop down.
Tip: you should only stop down the lens beyond f/16 in exceptional cases. Above this aperture, so-called diffraction blur, a physical imaging error, occurs with almost all lenses. The entire image then becomes slightly blurred.
The solution for the close-up and macro range
In order to achieve a depth of field that goes beyond the photographic-technical, especially when photographing very small objects, you can use a mixture of shooting and image processing.
To do this, you take a series of pictures of the same subject. These shots must all be congruent and therefore only work from a tripod and with static objects, for example a piece of jewellery or a small model or other small objects. Each shot covers an area of the subject in focus and these are then combined with software to create a single shot that is sharp from front to back. This makes it possible to create any depth of field, not only over the entire object, but also over just a part of it if desired.

In practice: automatic or manual
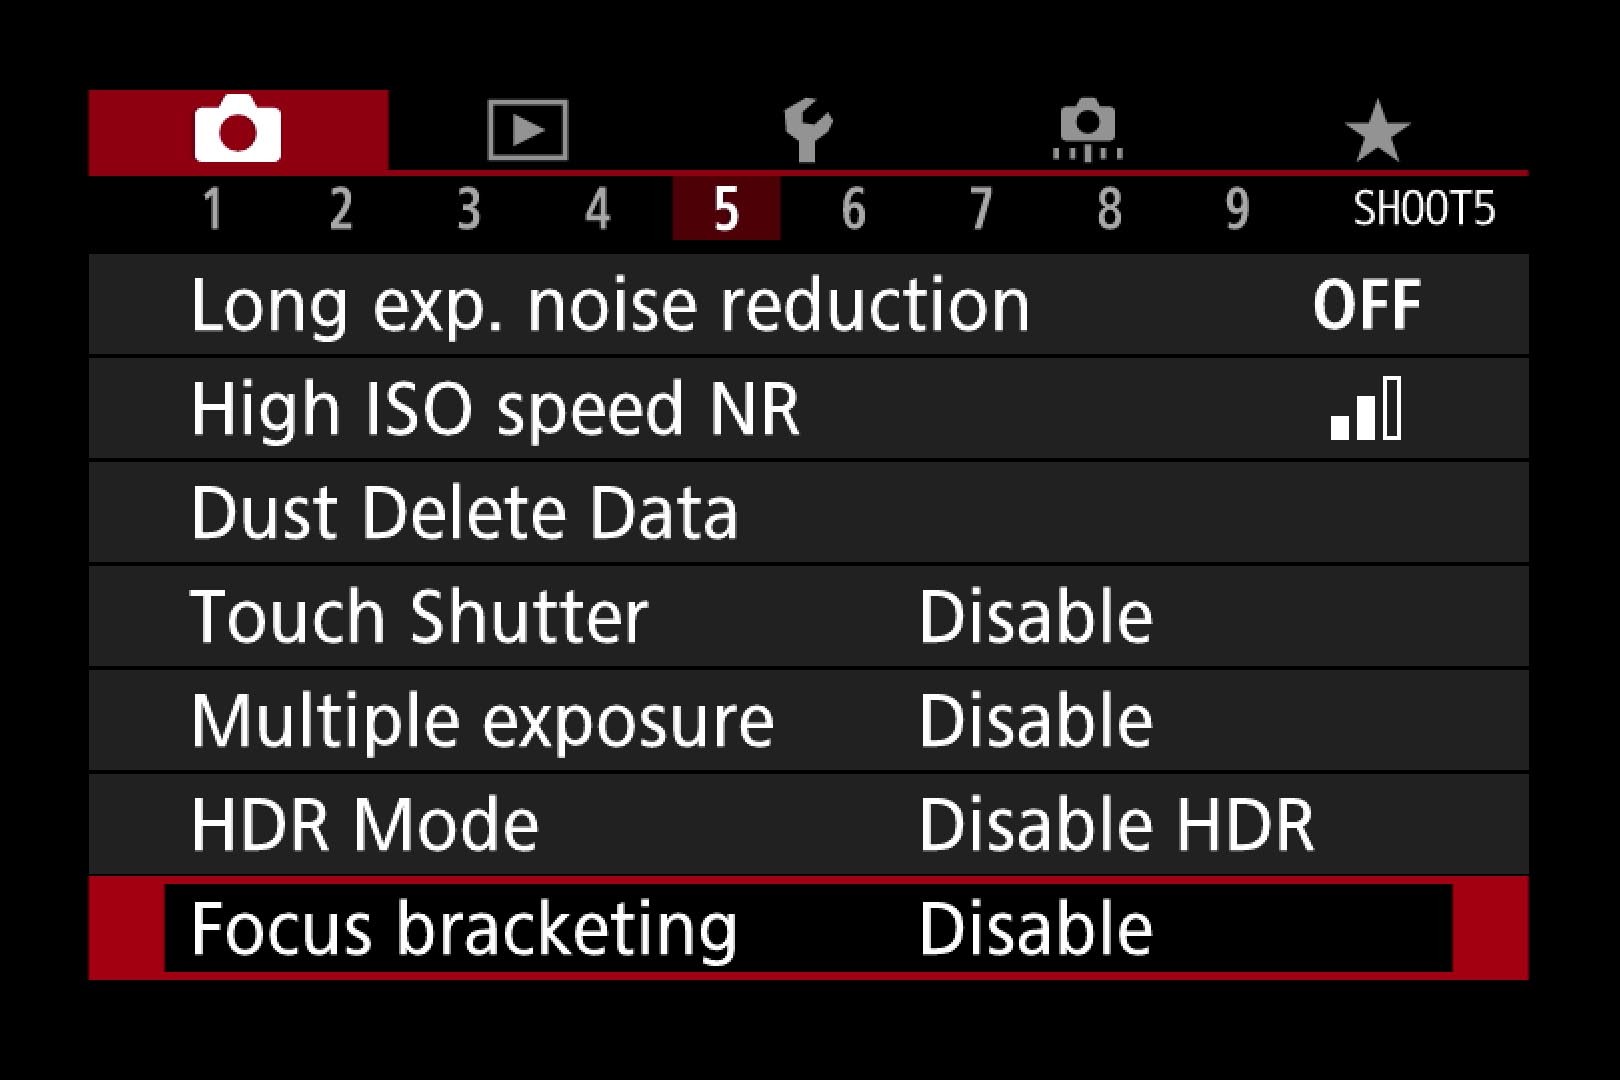
With your EOS, you use the focus bracketing function to adjust the focus stack. The simplest variant is automatic focus bracketing with the Canon cameras EOS RP, R5, R6 and EOS 90D (with the latter only in Live View mode).
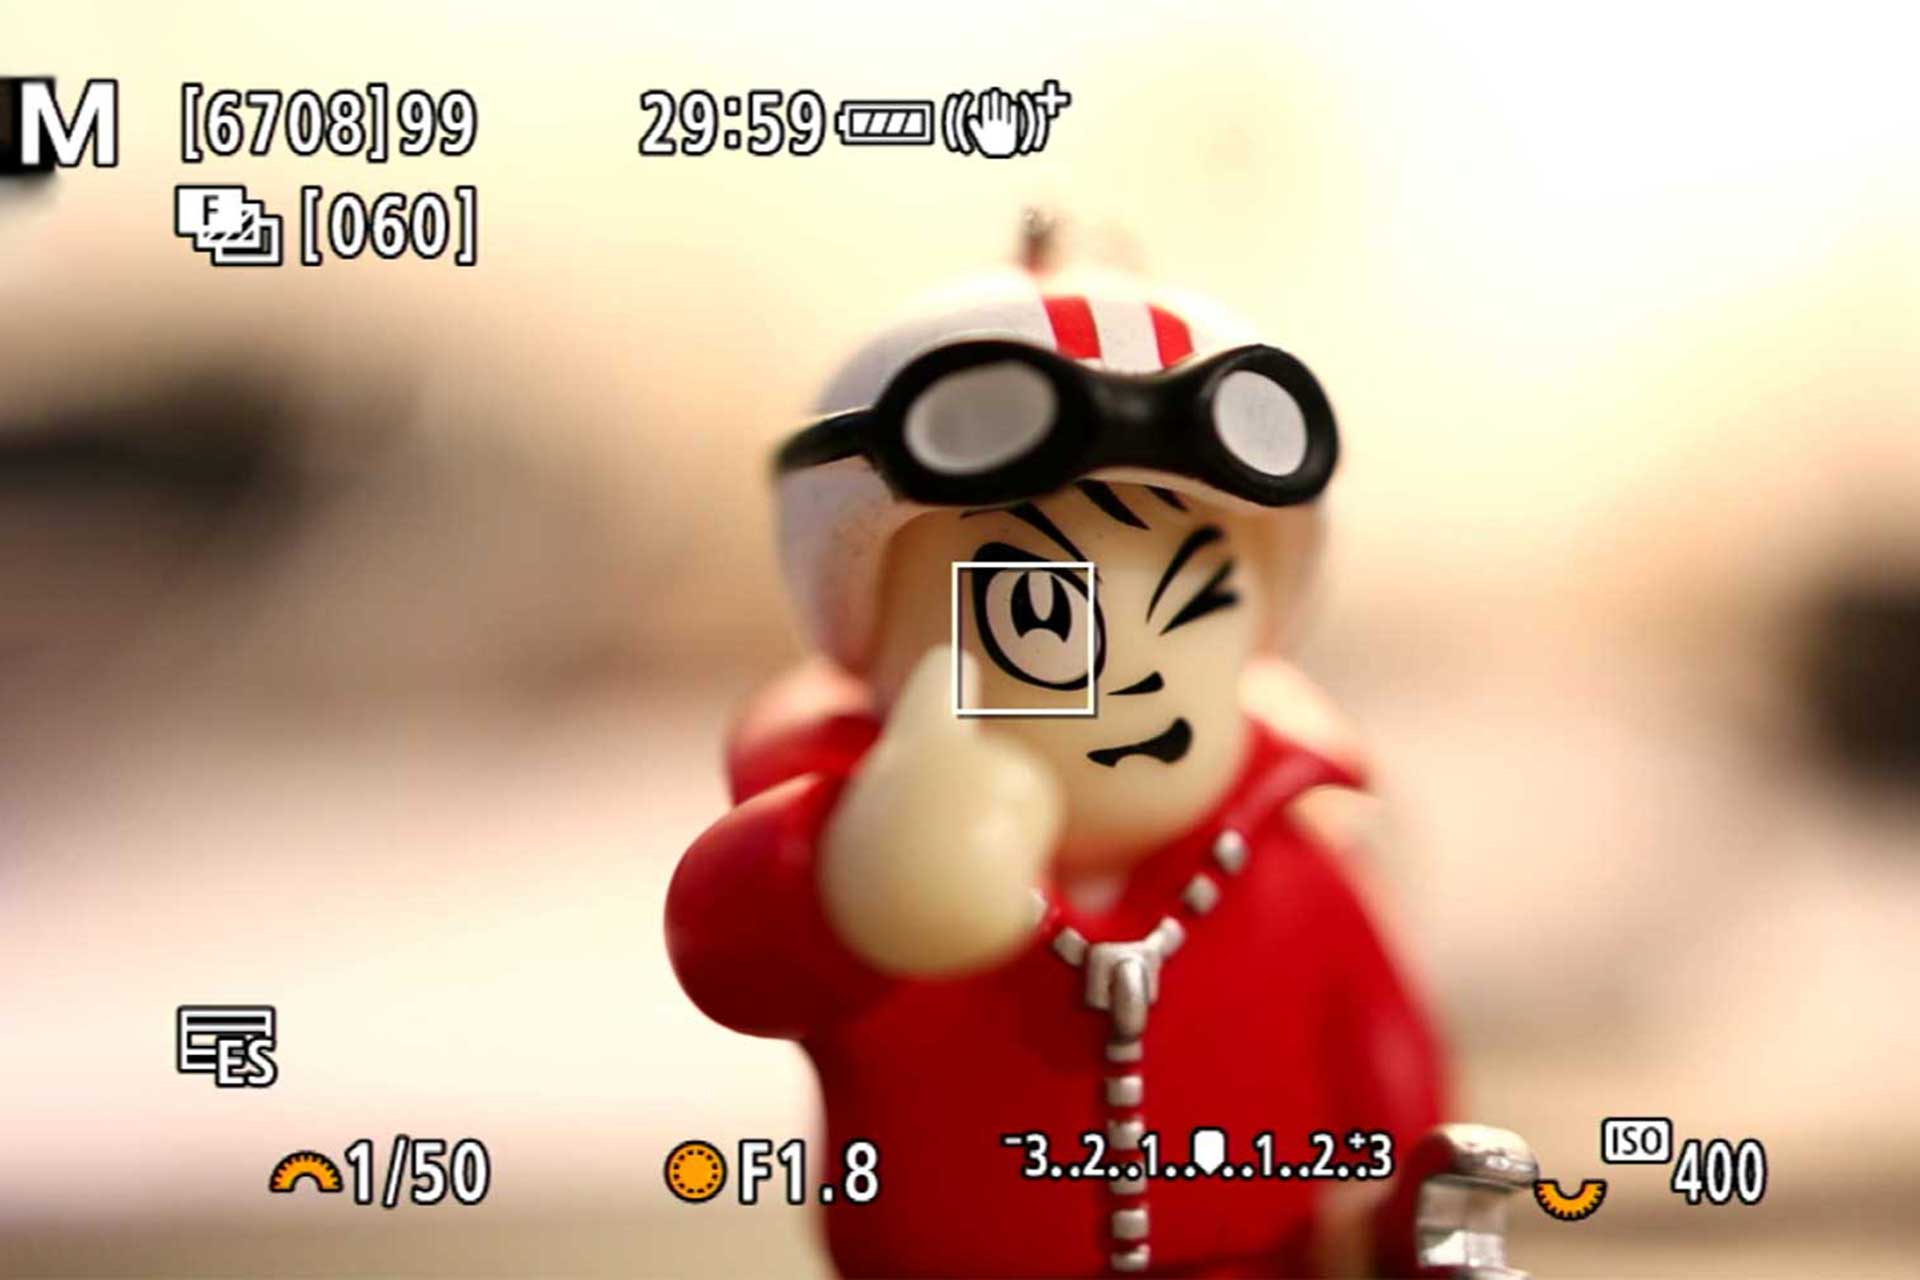
For bracketing, you arrange your lens and align the camera. For close-up and macro photos, a macro lens is recommended to get close to the subject. Once you have made the settings for the exposure, focus on the point of the object that is closest to the camera.
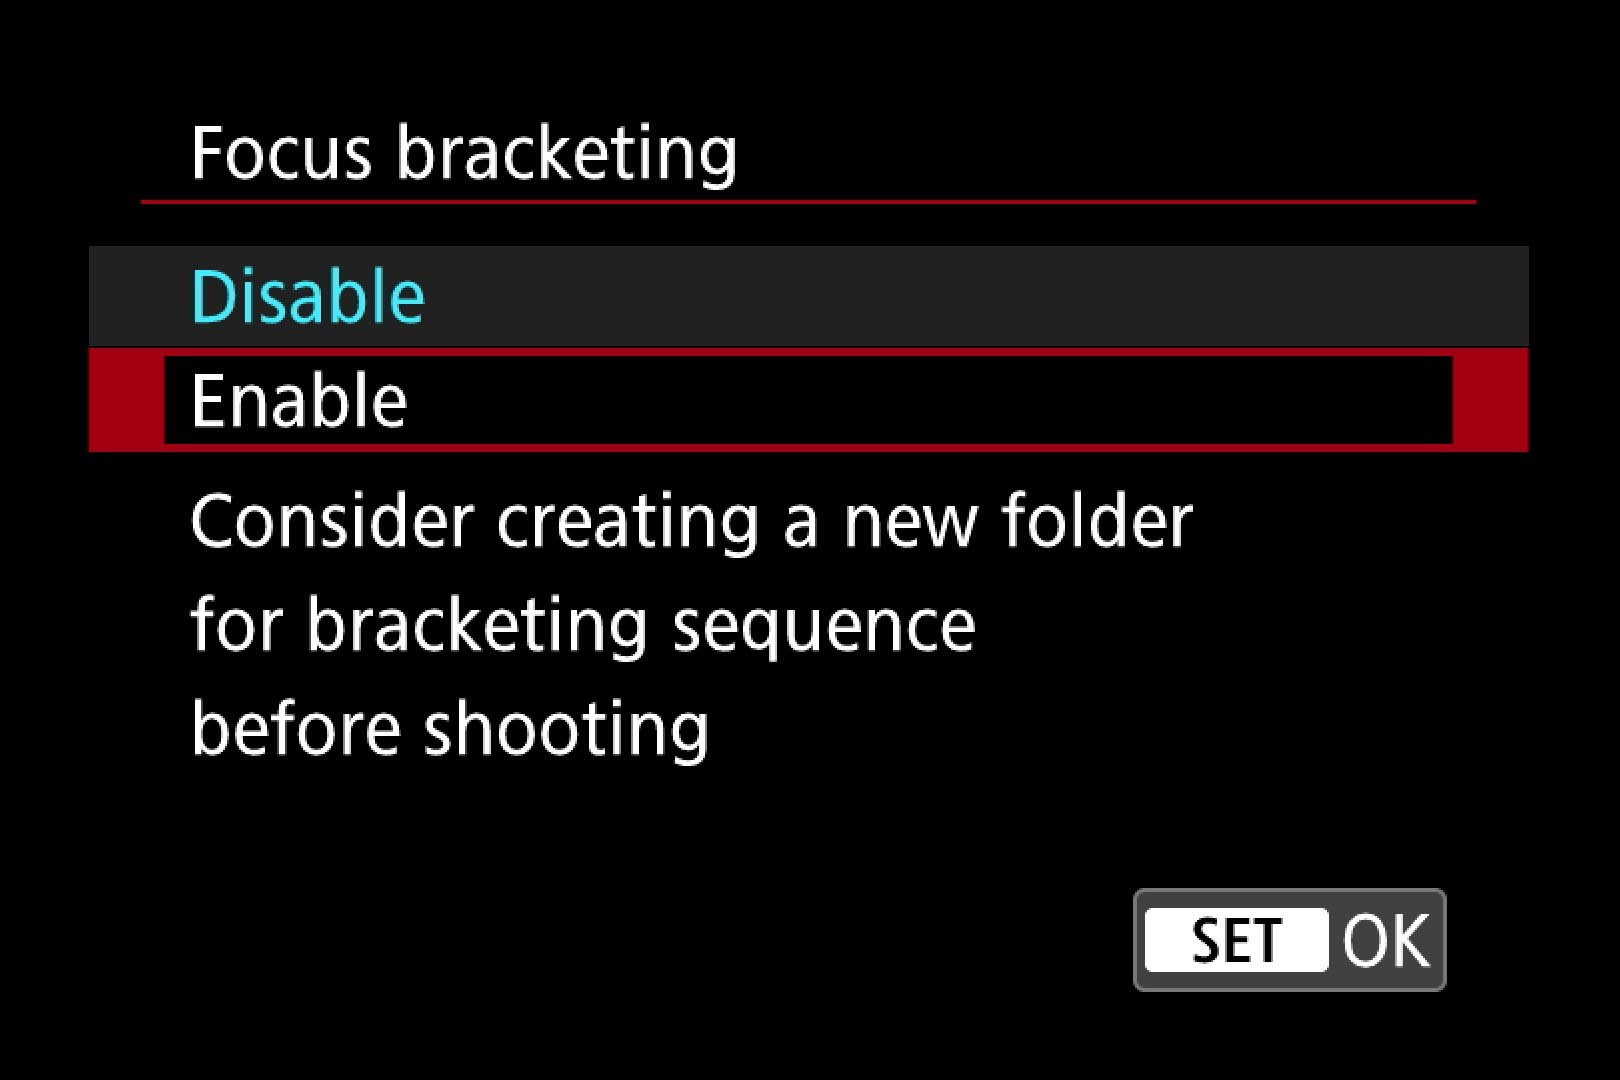
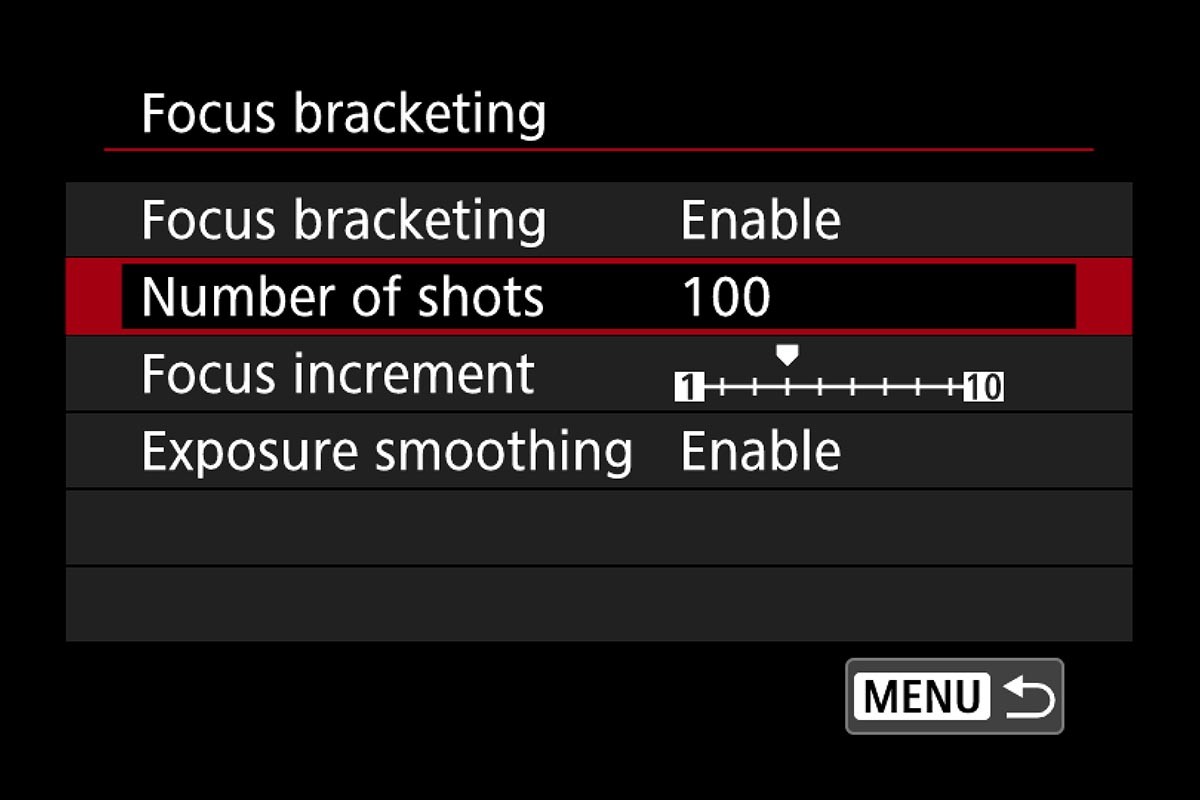
Now you can make the settings in the red camera menu under Focus bracketing. This is easy, you simply determine the number of shots. You can adjust the step size, but the automatic function usually takes care of everything. It makes sense to create a special folder for each focus bracketing motif so that you don't have to search for the right shots from a huge number later on. You will find the function for this in the camera's preview window when focus bracketing is activated.
Stitching in DPP
Once the images are in the box, load them into Canon's Digital Photo Professional software, DPP for short. Under the "Extras" menu you will find "Depth Compositing". Start this DPP tool, leave all the settings in the following window as they are - and the rest will take care of itself. Information on aperture, focal length and shooting distance is taken into account when taking and calculating the image. So you can be sure of getting the best image with the absolute depth of field. The results are breathtaking.
If you don't have one of the cameras mentioned above, you can also create the focus stack manually or with the help of the Camera Connect app or the PC with the EOS Utility app. This is a little more time-consuming, but produces equally great images. However, you will then no longer be able to process the image series with Canon's DPP software. This only recognises CR3 RAW files and JPEGs from these RAWs. There are various programmes that can calculate a focus stack, for example Adobe Photoshop or Affinity Photo by Serif.
Whichever way you get the result: A close-up or macro shot that is sharp from front to back is definitely an eye-catcher.