Goal and aspiration
ONE clear message, a confident performance, spoken freely and without a script, professional and likeable. As short as possible, as long as necessary.
Location
Quiet and without background noise, otherwise it is difficult to edit what has been said later. Privacy for comfort.
Background
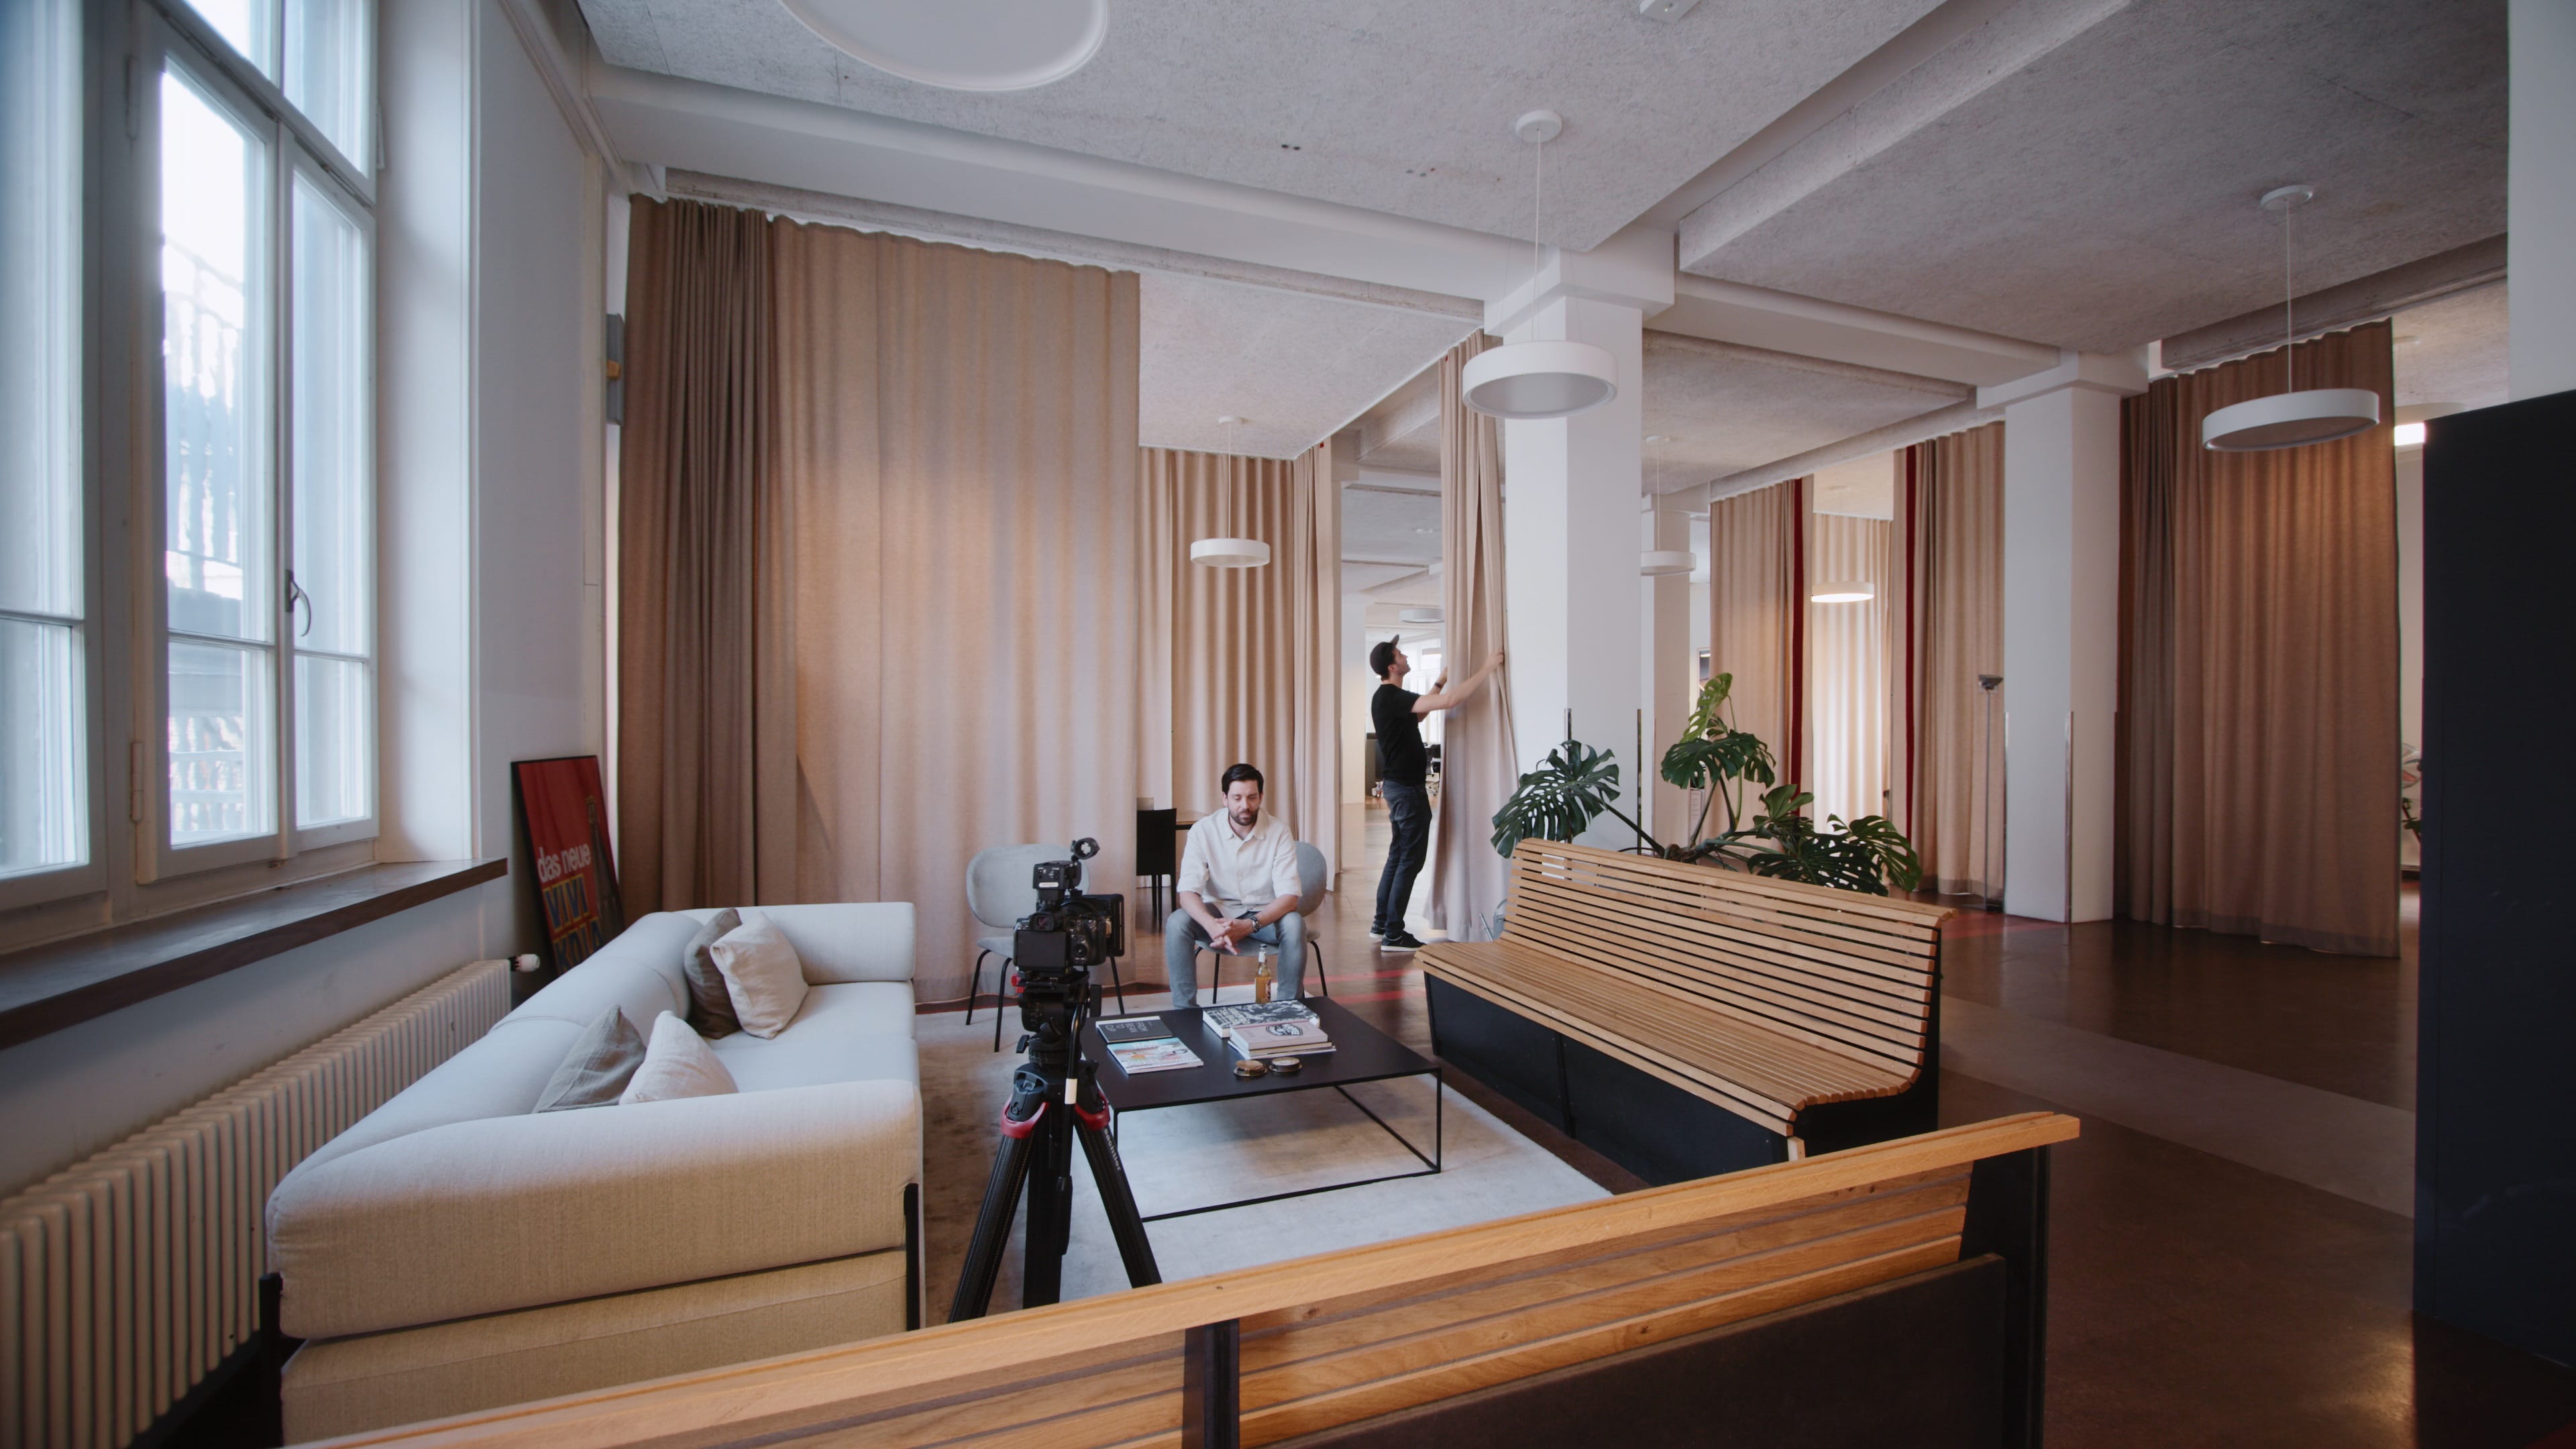
I want visual depth and not a white wall. That's why I look for distance to the objects in front of and behind the person. The further away the background is, the more blurred it can be. However, the location should remain recognisable so that viewers can better understand where we are.
Framing
I pay attention to lines and elements so that they don't start or end uncomfortably close to the edge. I try to avoid a striking shape that goes through the head. I leave enough space for 16:9 and 9:16. Guide lines help me with this.
The Lens
I choose a fast and fixed 50 mm lens for this full-frame camera. This gives me a comfortable speaking distance, nice blur in the depth of field and I can work with natural light.
Light
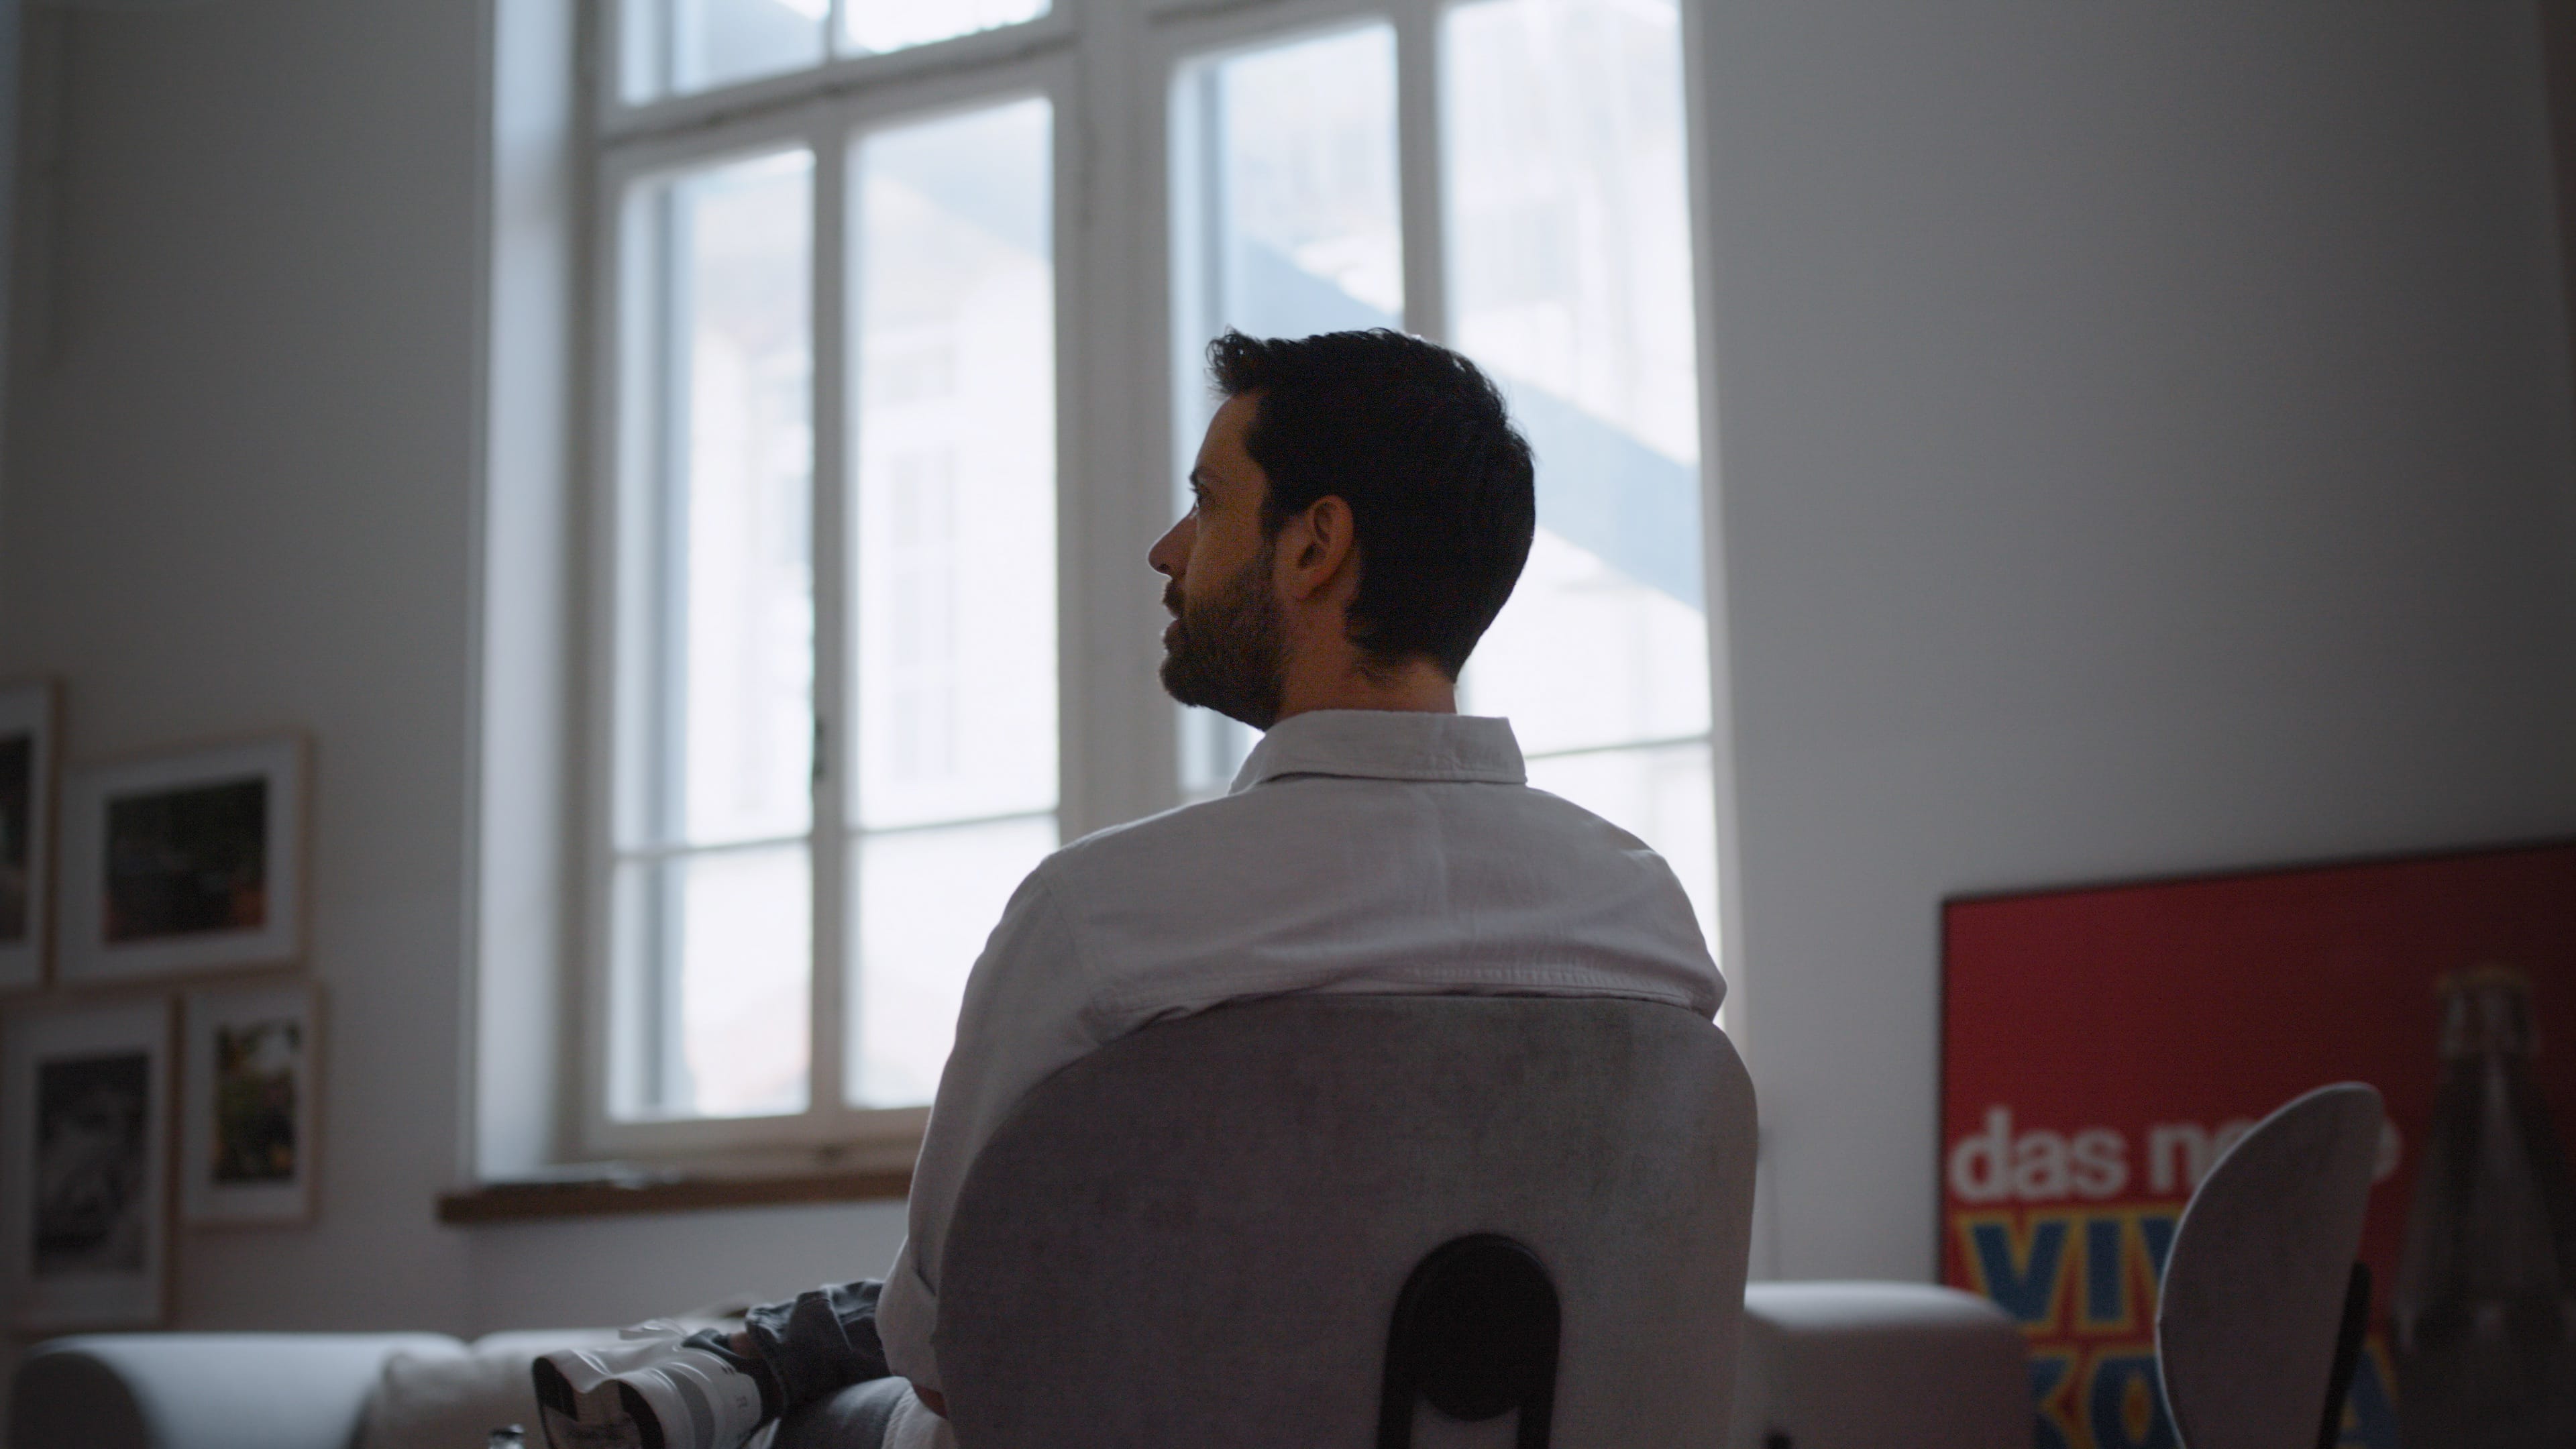
I try to avoid mixed light with different colour temperatures. This makes it easier for the camera to reproduce skin tones correctly and beautifully. In this case, the window front is a perfect, soft and indirect key light. I would avoid direct sunlight, it looks very harsh and is unpleasant.
I check whether the shadow side of the face still needs to be brightened, for which I can use a light (in the same colour temperature) or a reflector. In this case, neither was necessary.
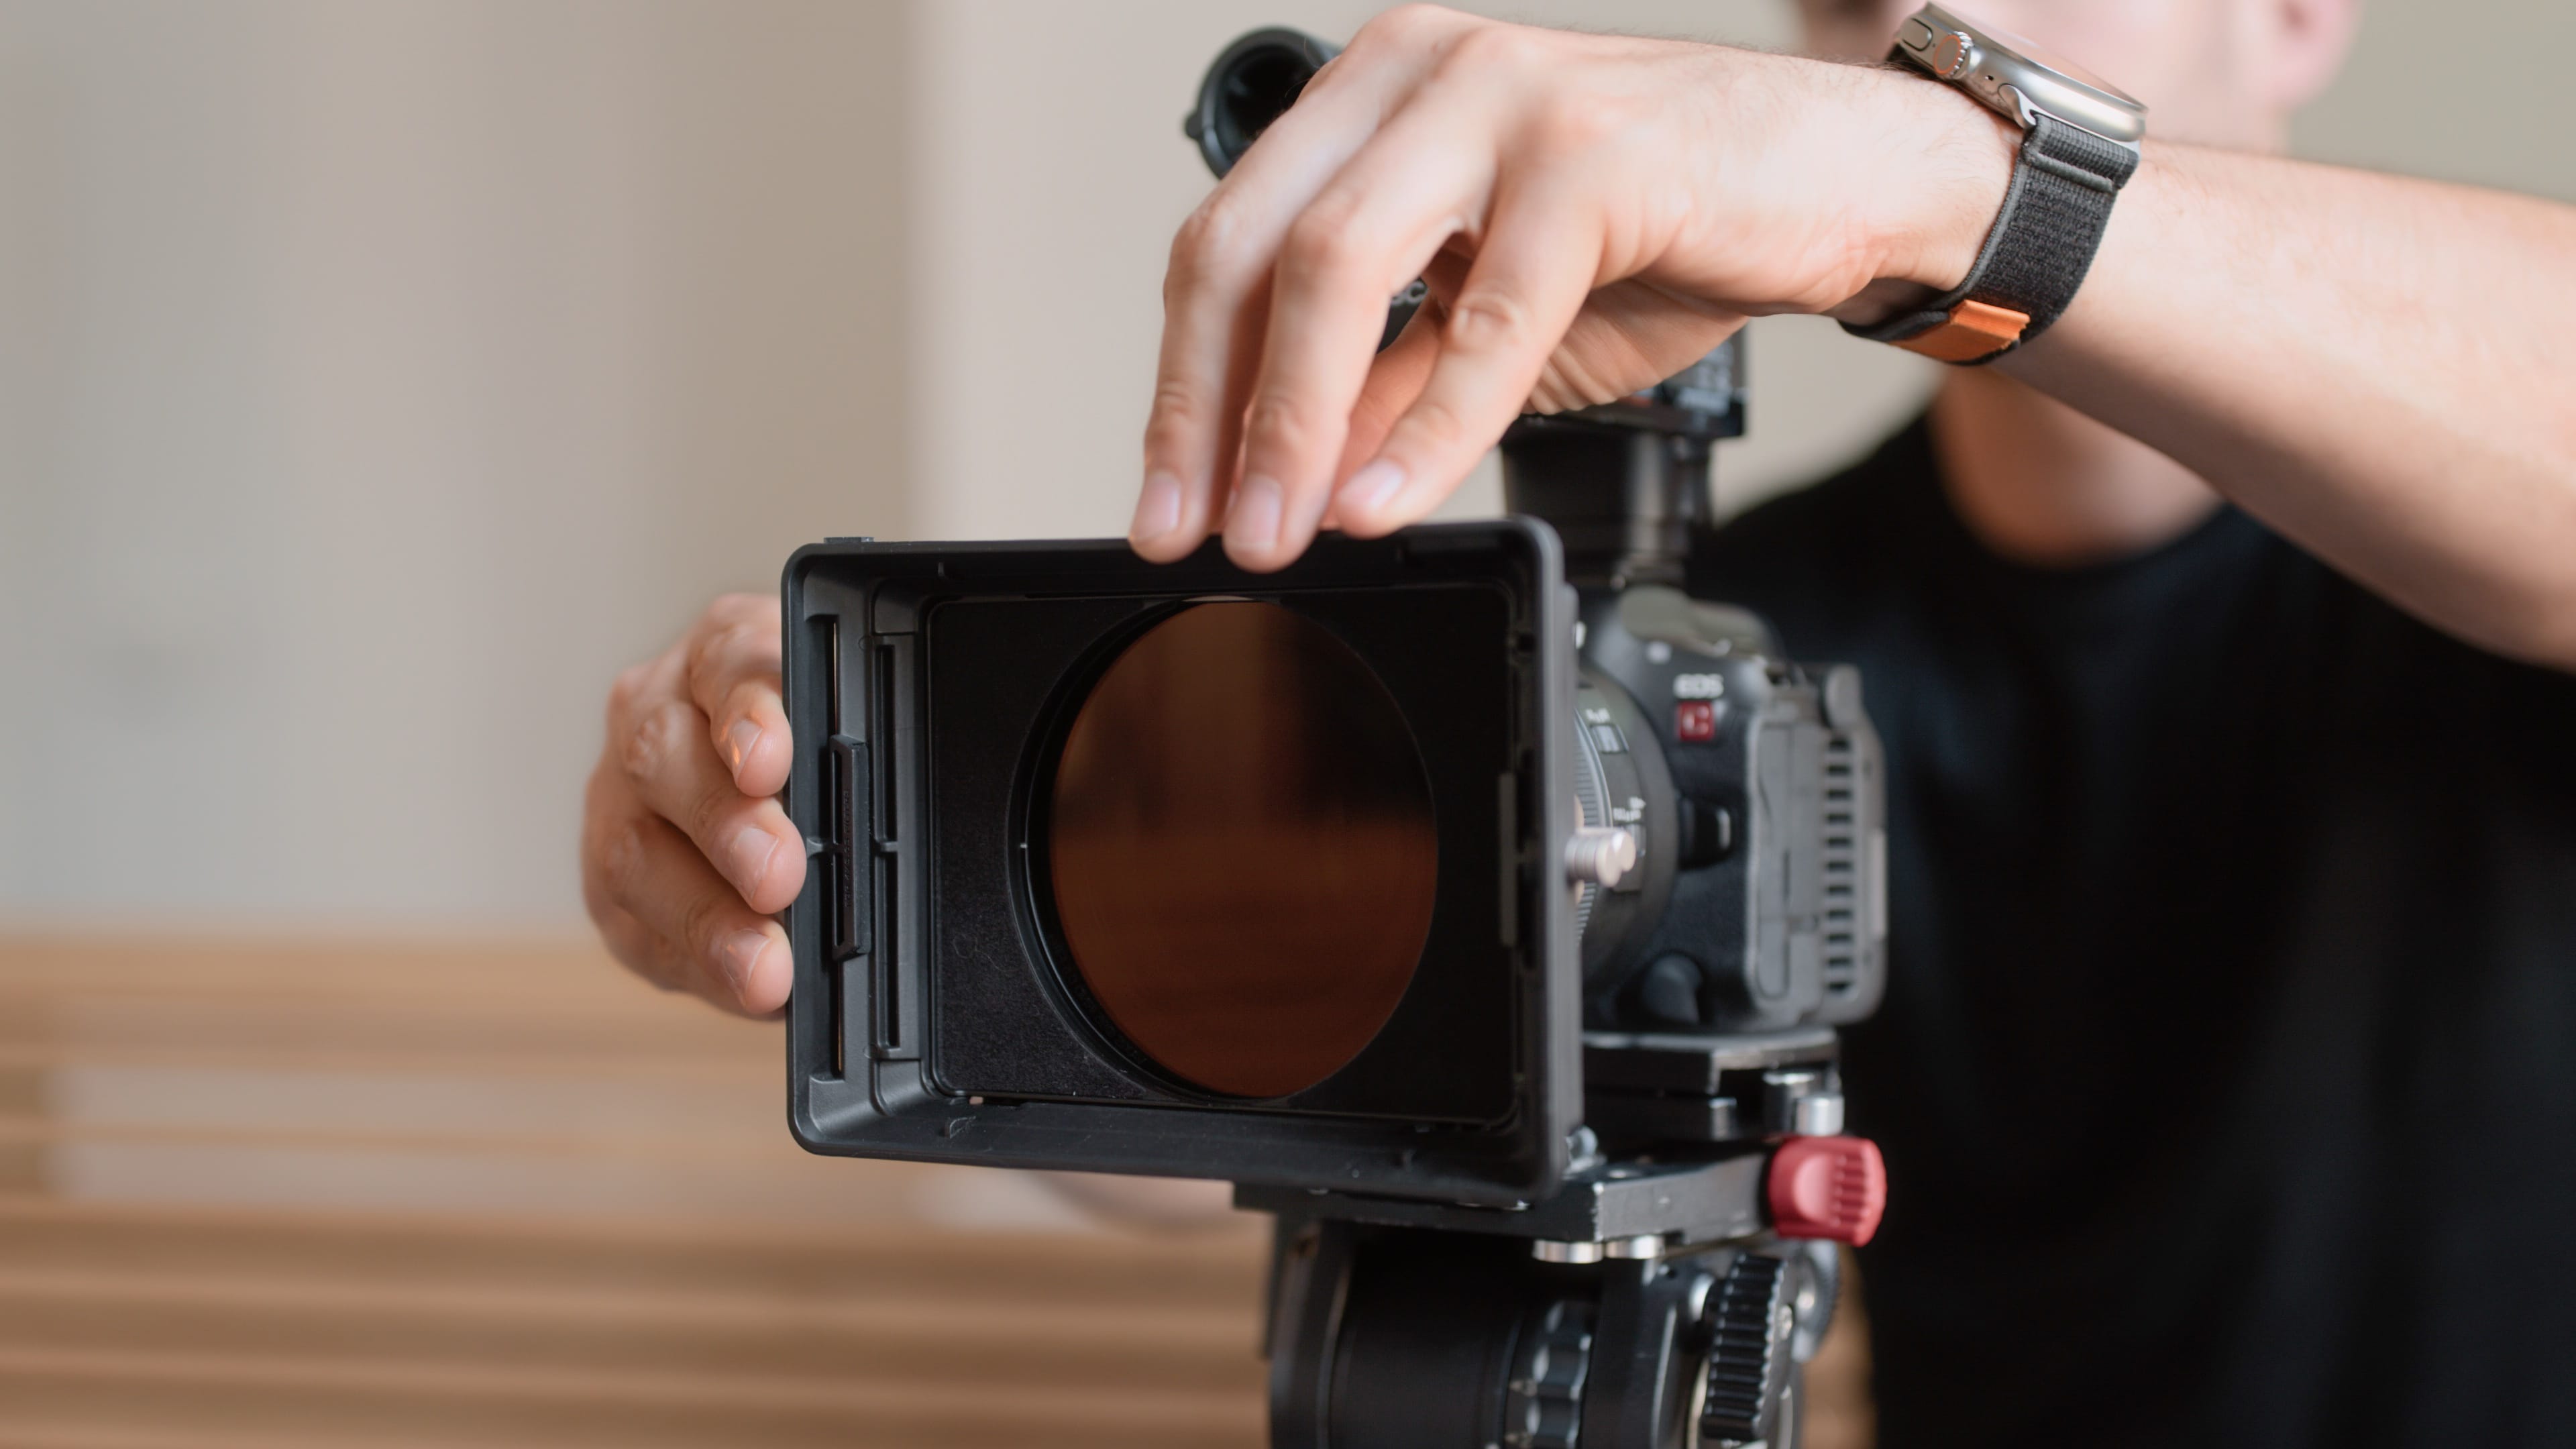
ND filters
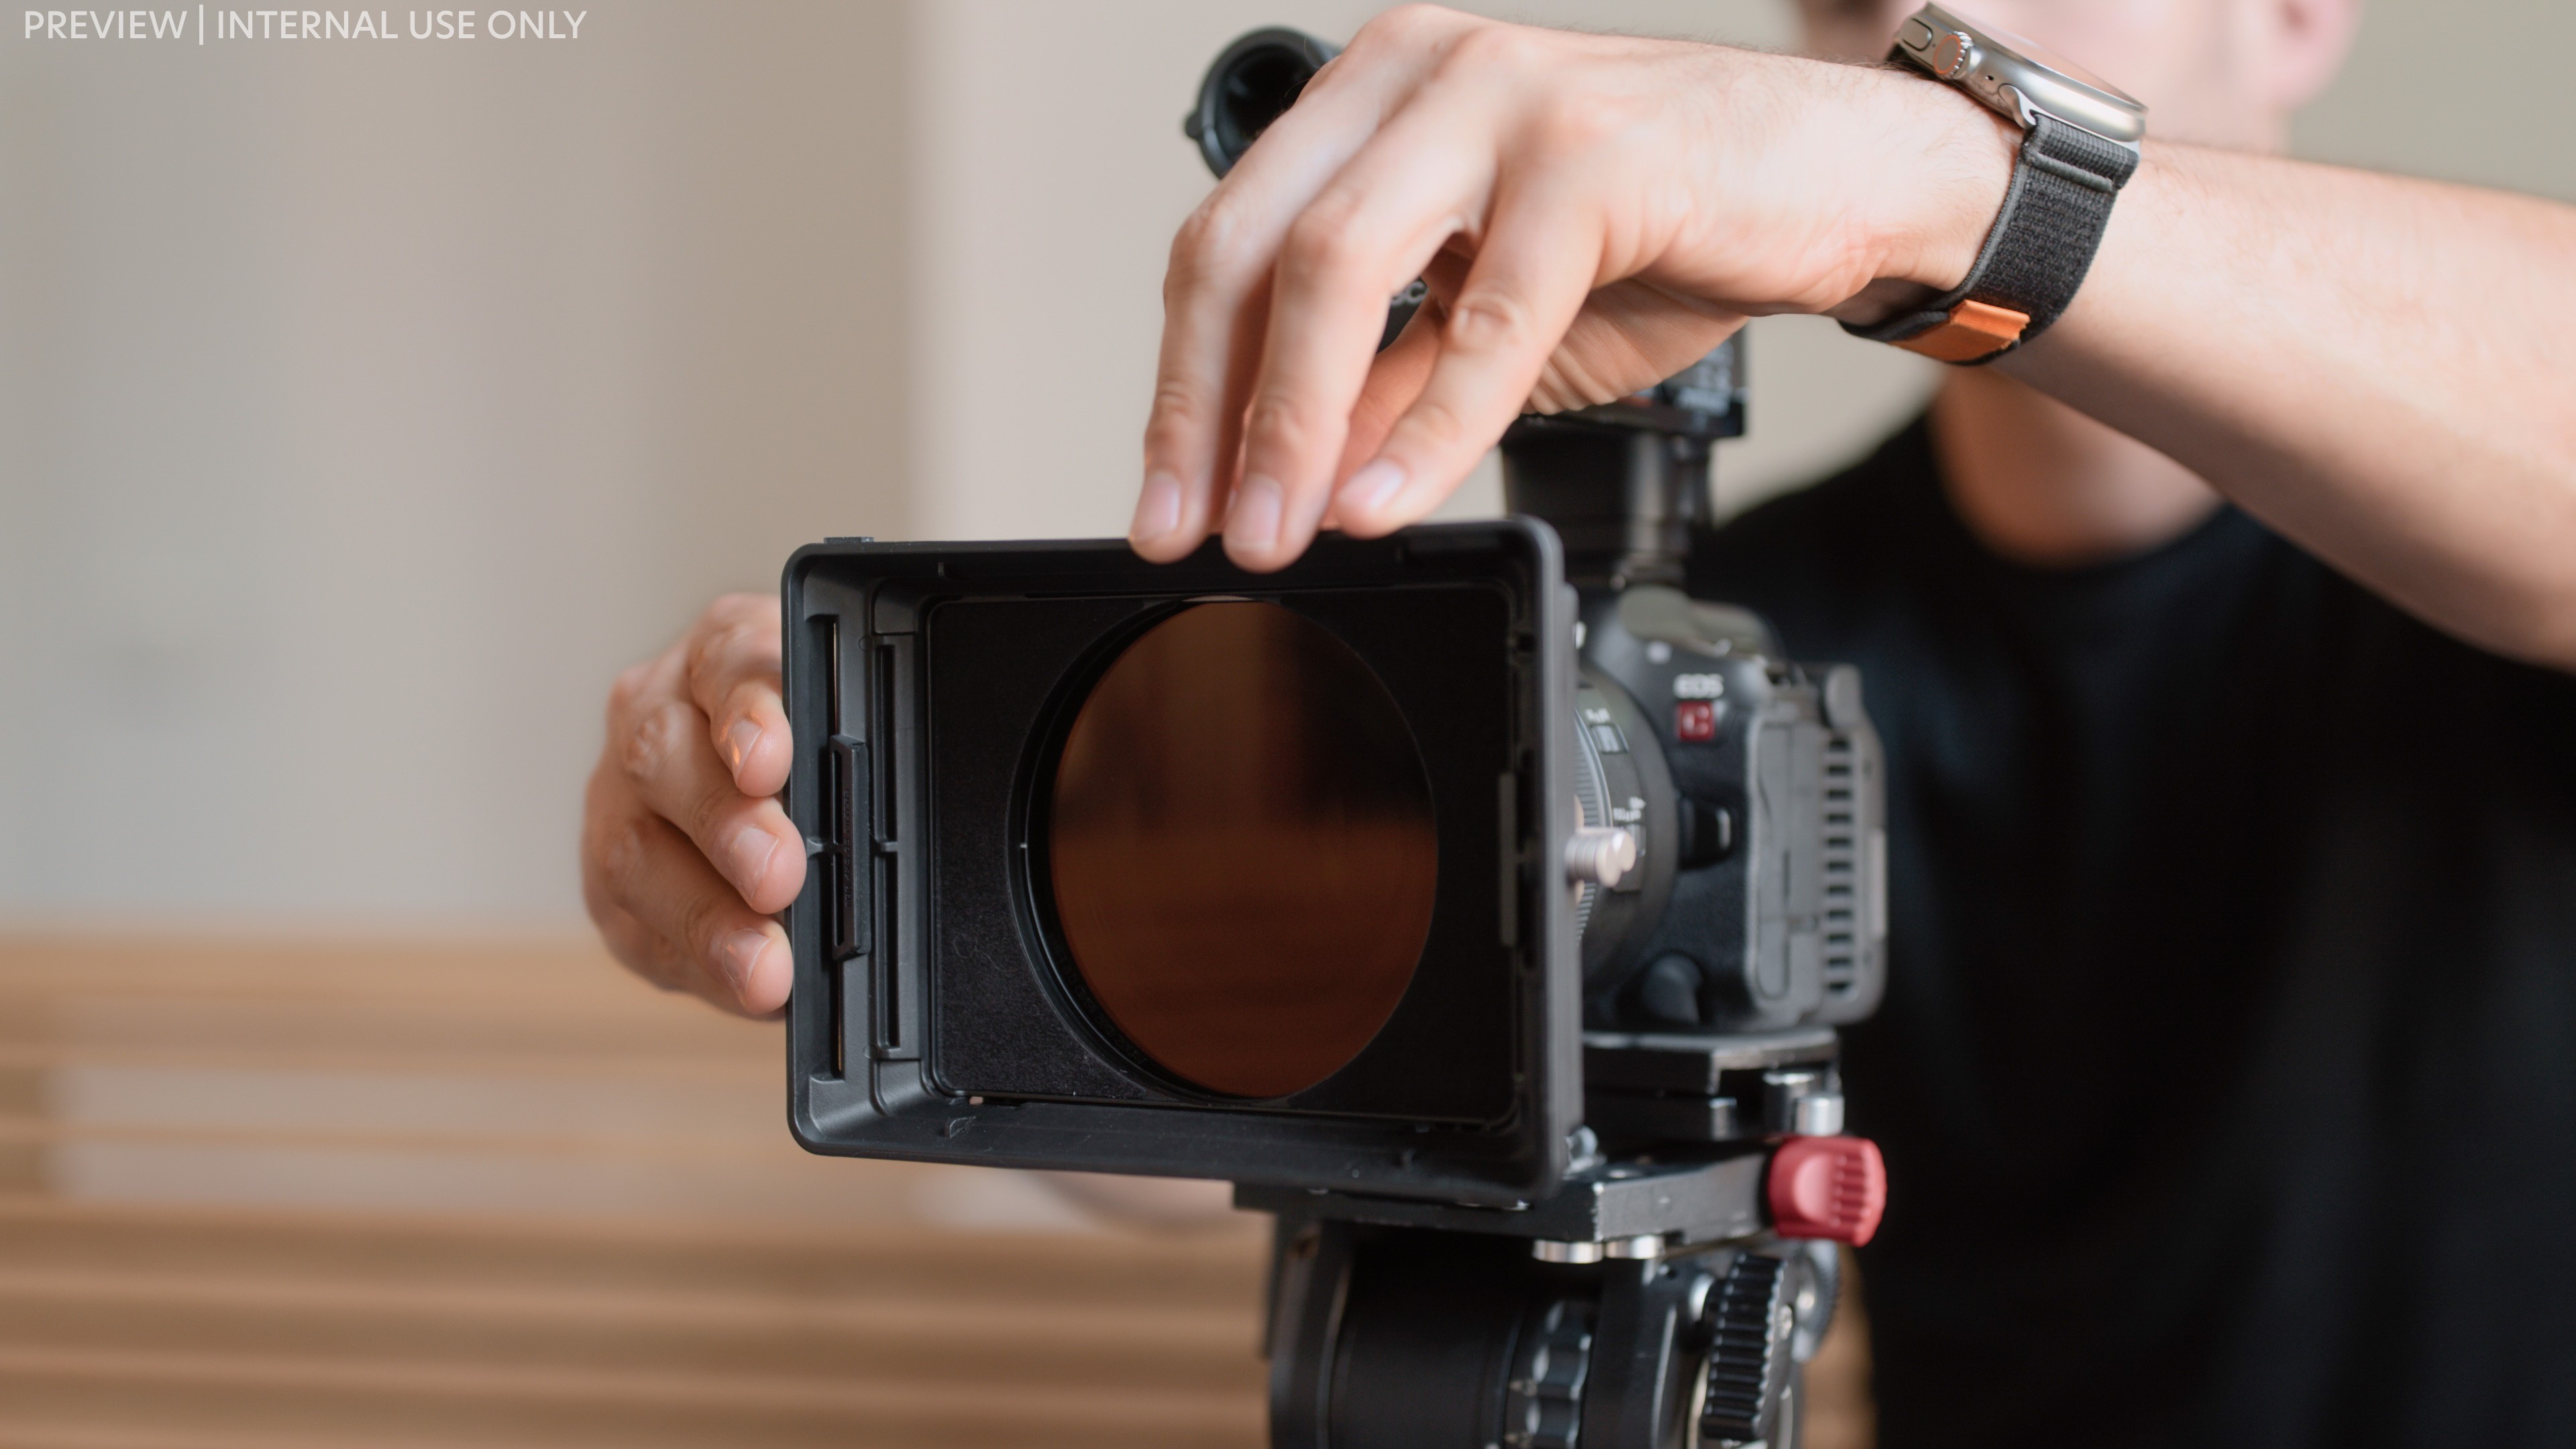
Thanks to ND filters, I can leave the aperture open and don't have to increase the exposure time. This results in a natural-looking motion blur. The rule of thumb is 2x the frame rate. I film at 25 frames per second, which would therefore be 1/50 second.
However, the effect is less noticeable with calm movements, as in this statement, than with fast camera movements.
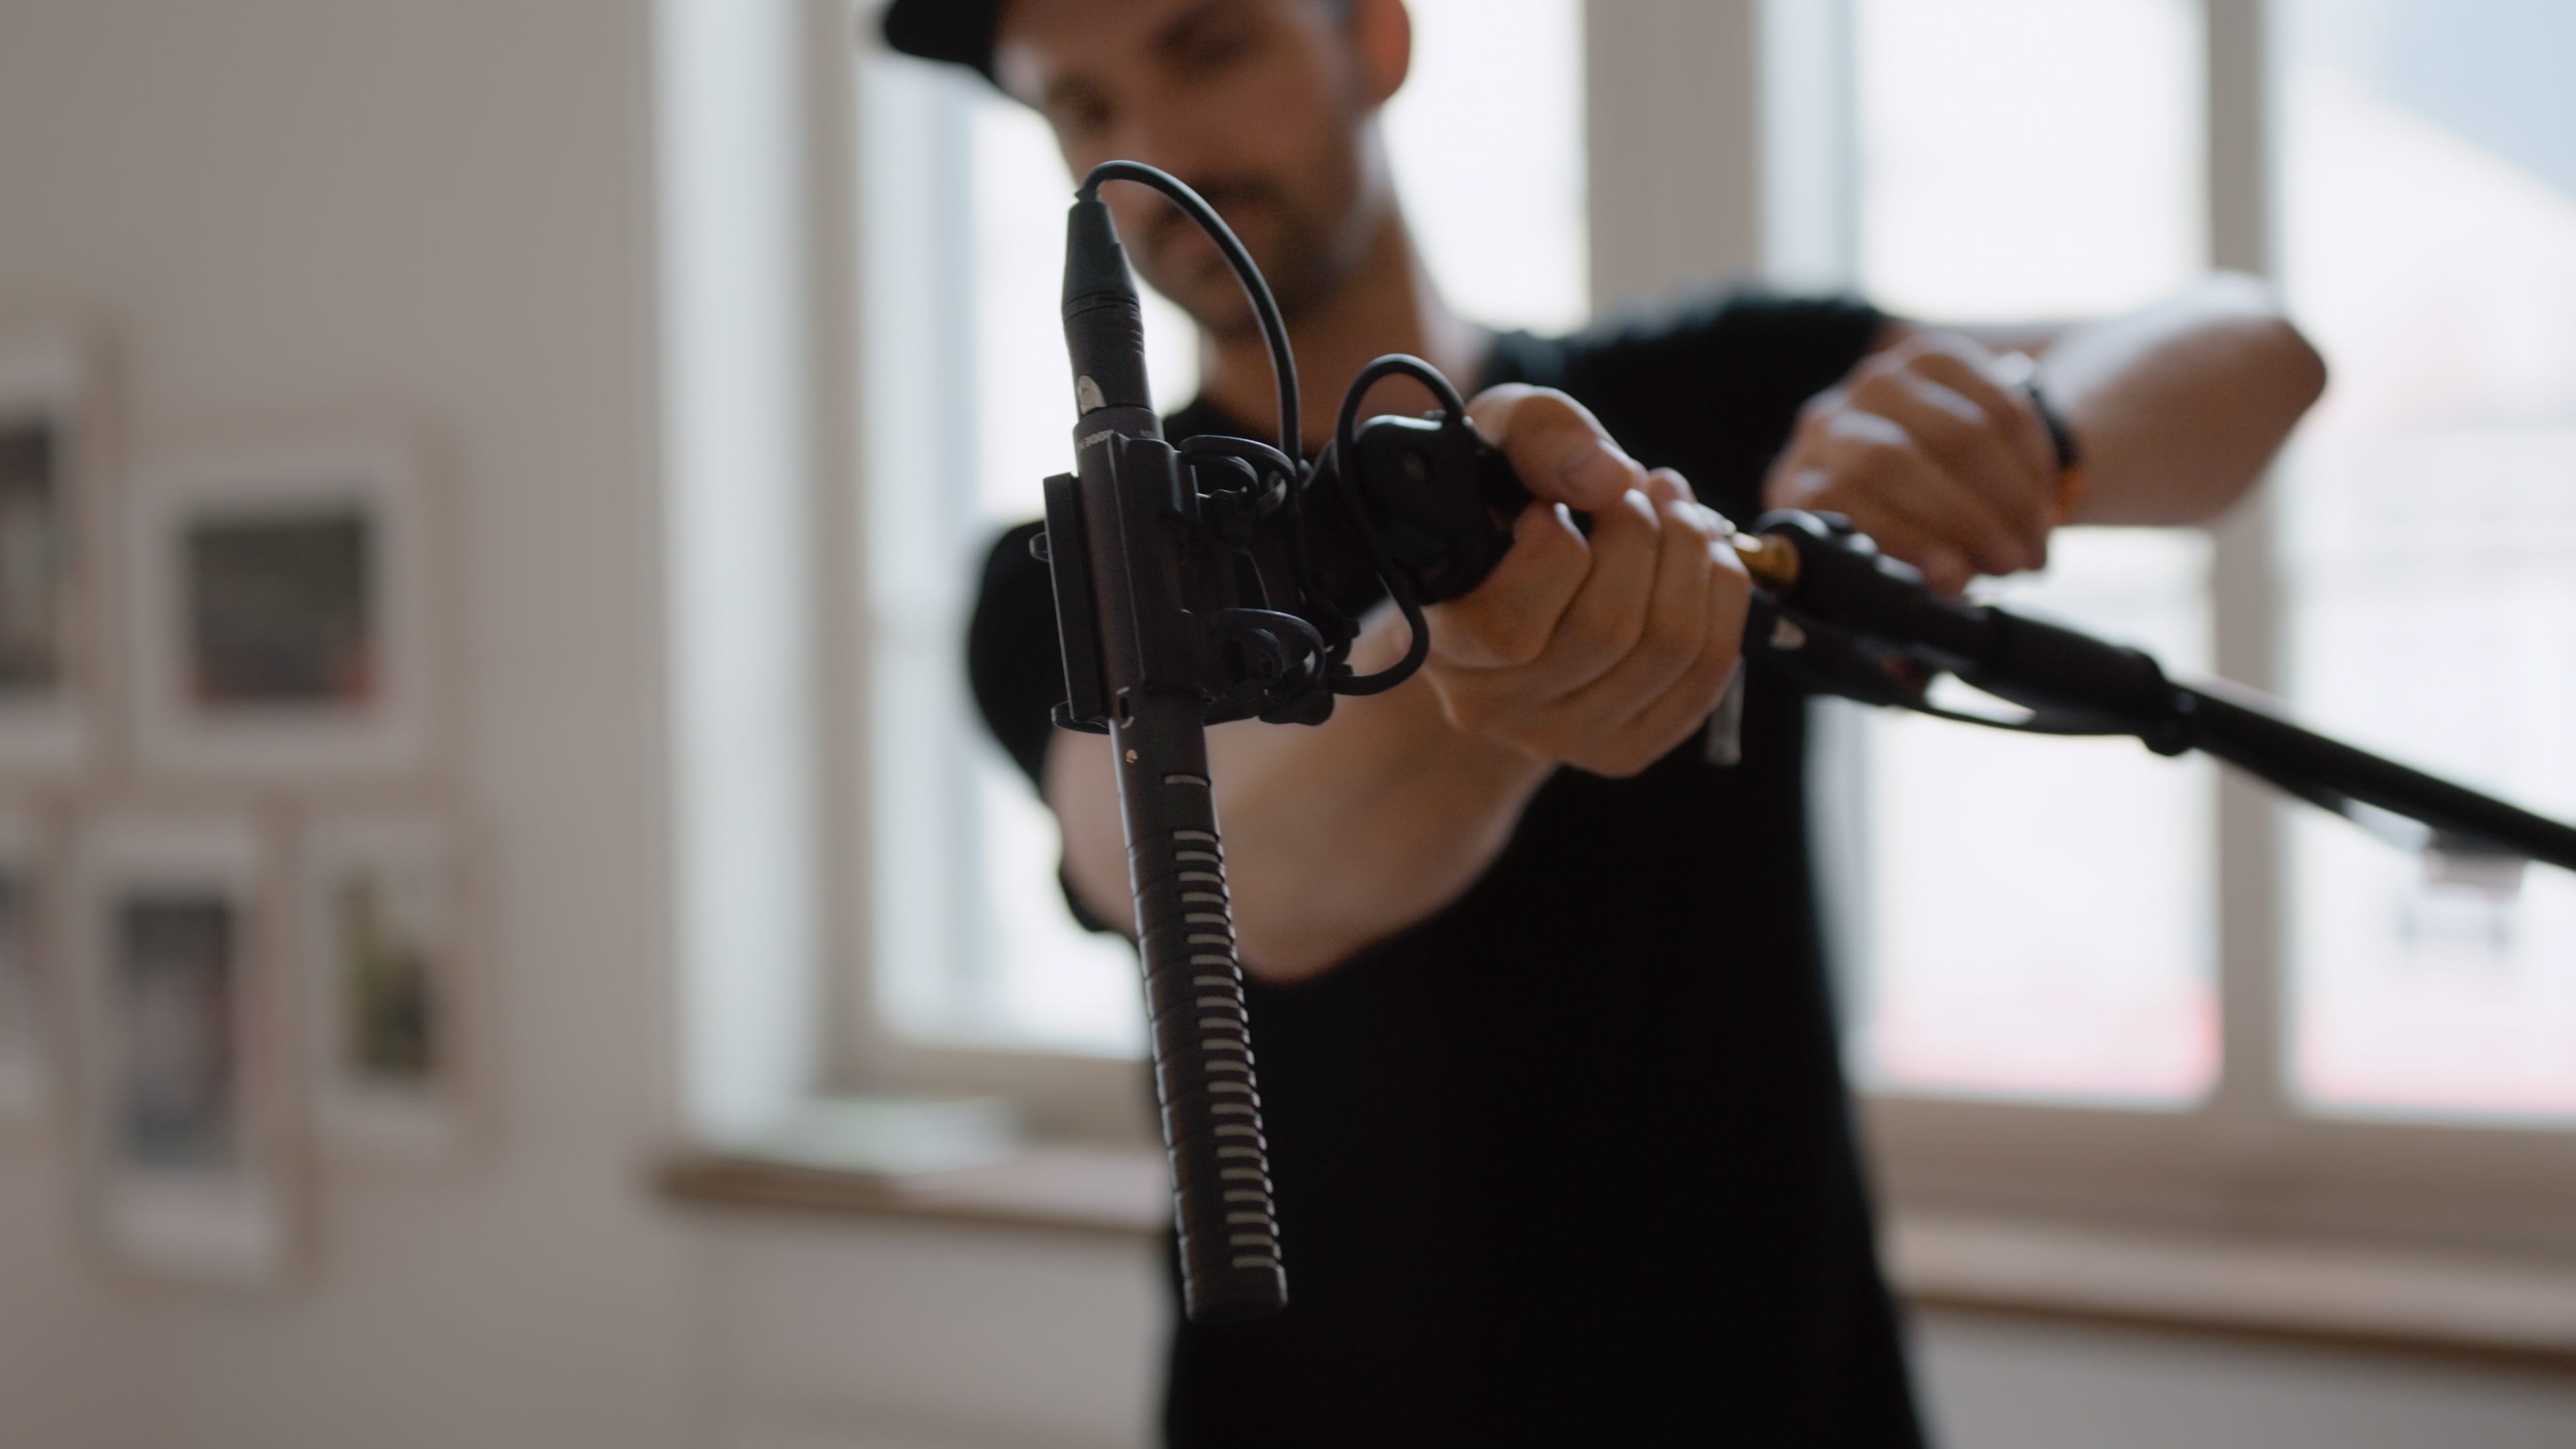
Sound
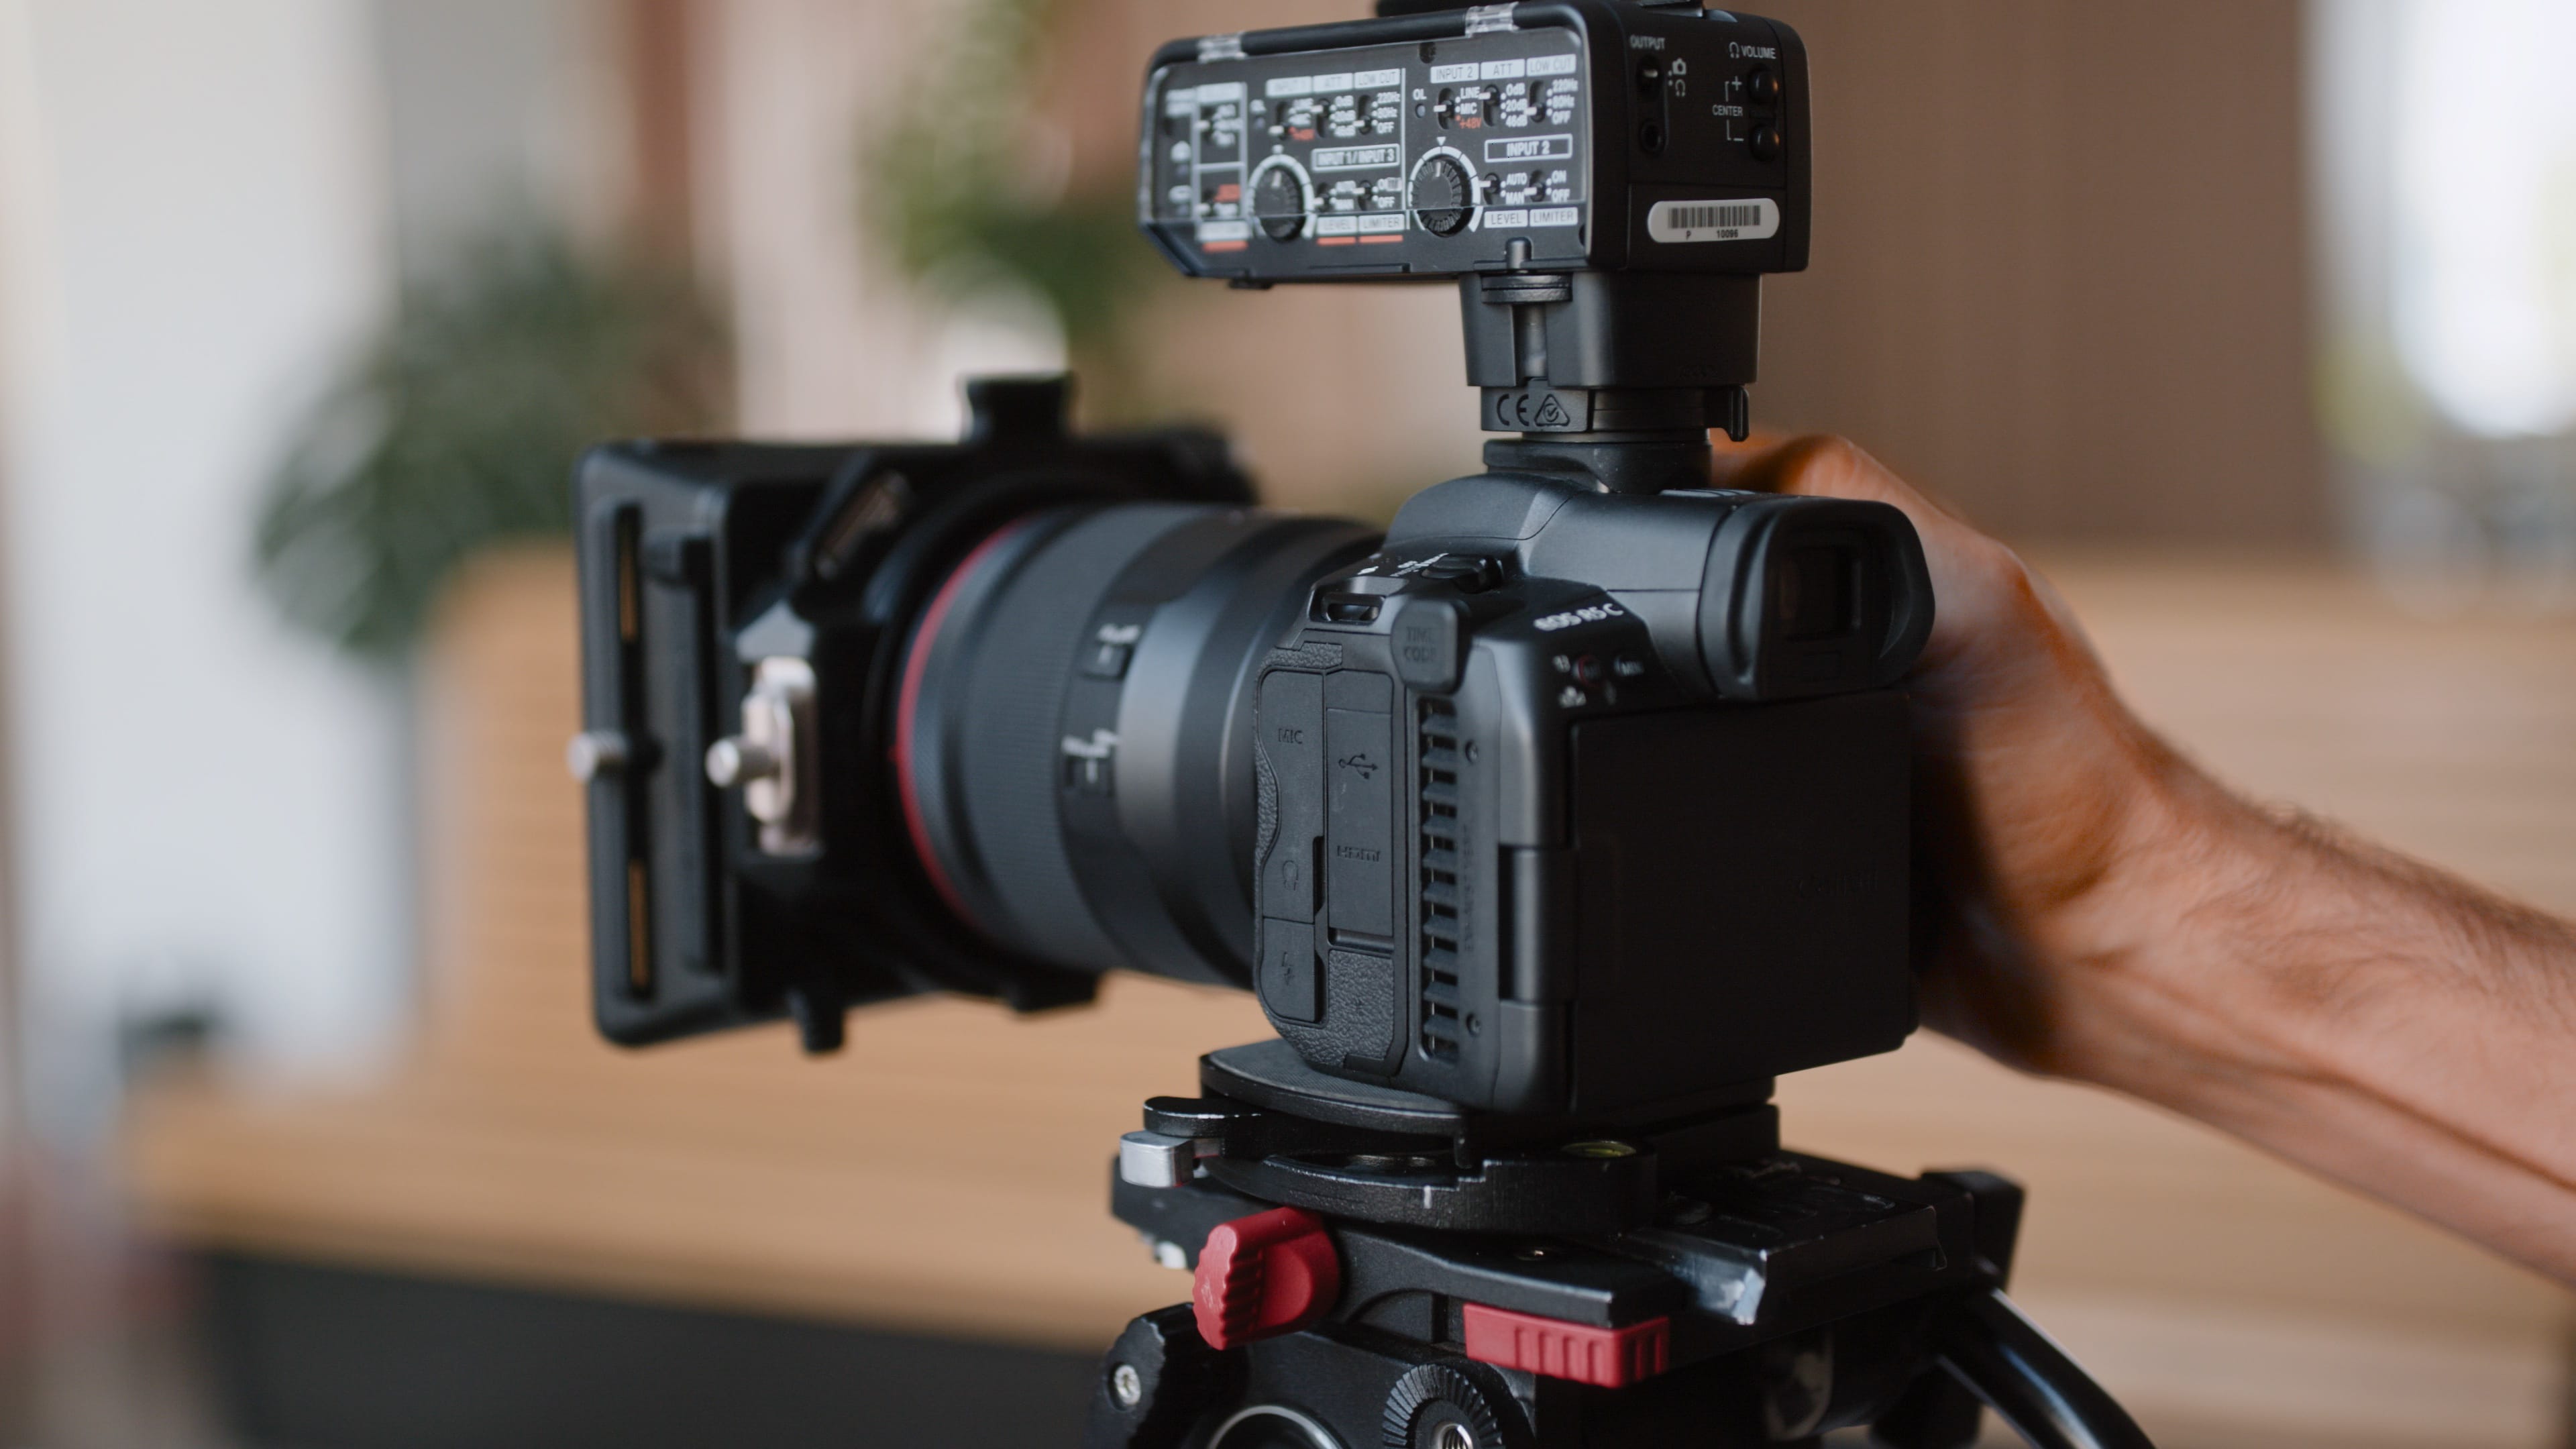
As the person in this statement is sitting and the camera is static, I can work with the better quality of a directional microphone. I connect this to the adapter with an XLR cable and so I can record the sound in perfect audio quality directly in the camera.
Clip-on microphones are inferior to directional microphones due to their positioning. But they offer more freedom of movement.
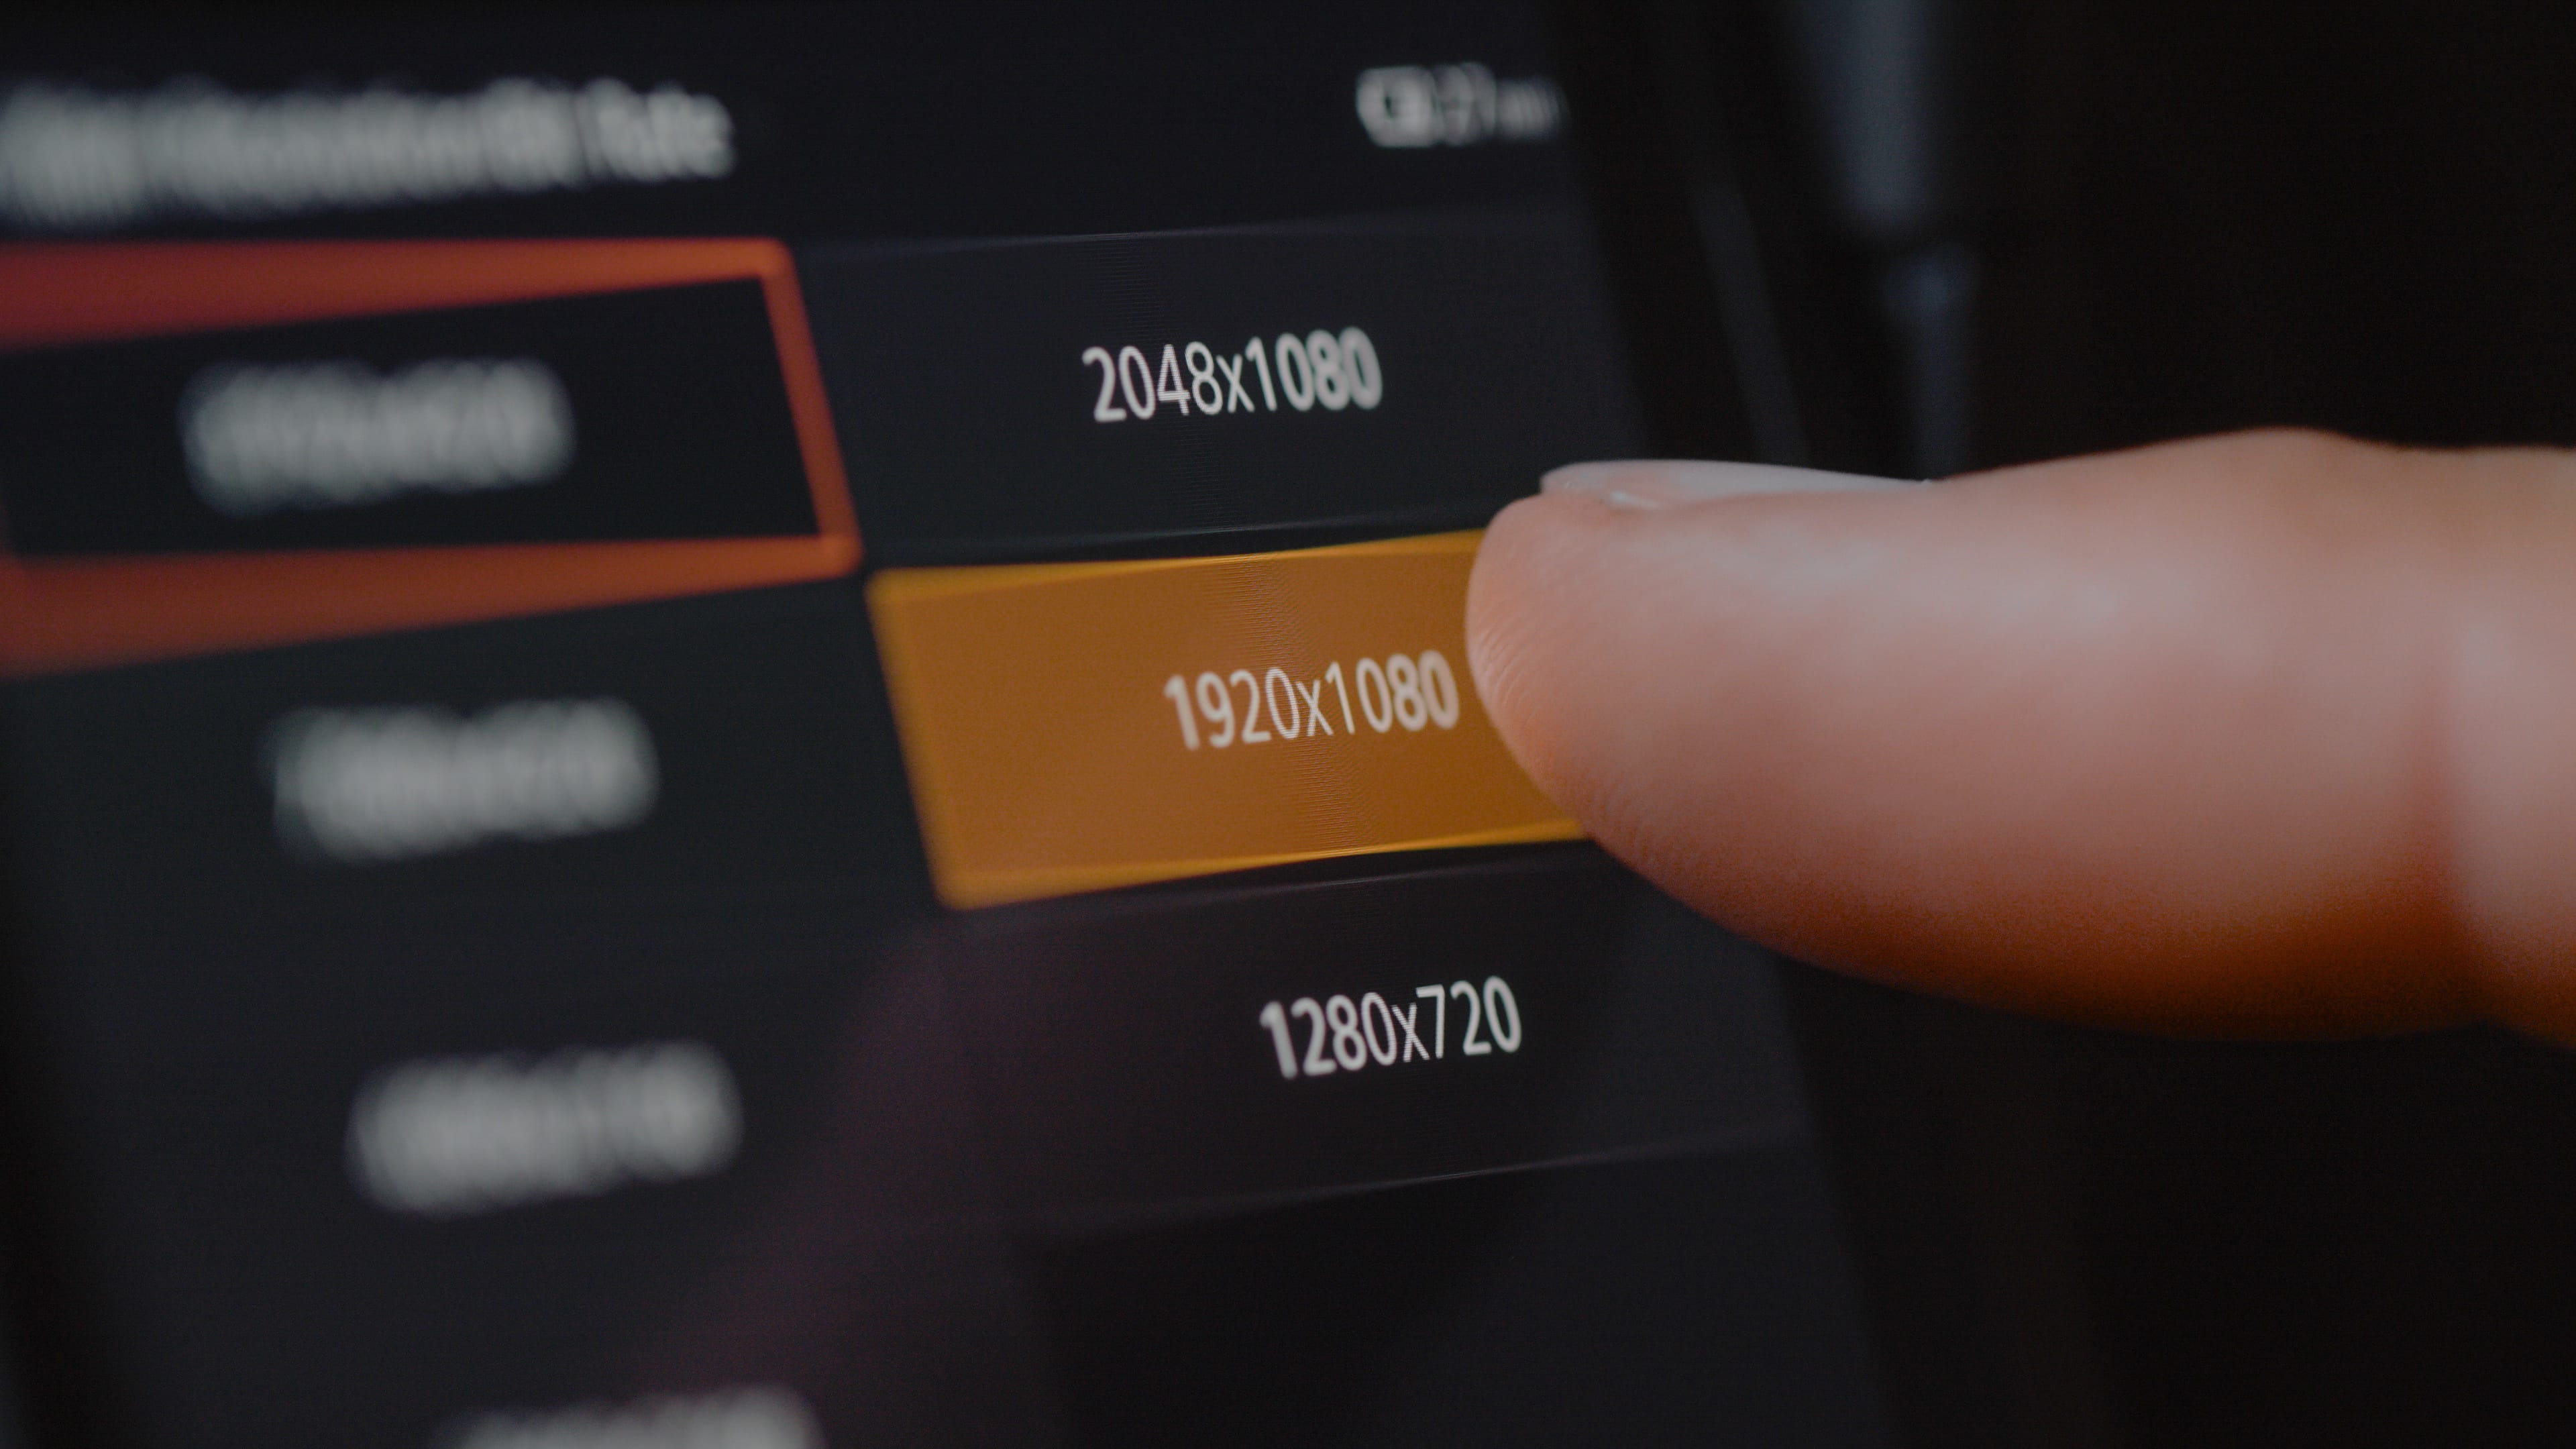
Resolution
This clip is intended for employees in internal communication. It was a spontaneous decision and the clip had to go out quickly. That's why I chose a smaller format (1920 x 1080 - Full HD) to keep post-production as simple as possible.
Recording format
I choose an MP4 container using the new and efficient codec H.265. This is a very efficient codec, which saves storage space when recording the statement.
Colour space
I choose to record directly in the 709 colour space. This way, the look of the statement is ready for export without any further post-processing. Alternatively, you could also work in CLog3 and in the edit with a LUT, but this was not necessary in this case as the scene was easy to control.
Directing and dialogue
I made a note of the most important points during a preliminary discussion. With specific questions and dialogue to guide them through the desired topics and statements. A script with specific sentences would hinder the natural flow.
Portrait
It makes sense to shoot a portrait in the same set-up. I do this by switching the camera from film mode to photo mode. I check the settings and shoot several dozen pictures in continuous mode.
Post-production
The statement is edited in DaVinci Resolve by shortening the intended content, getting to the point and combining it with the music.