Goal and ambition
For a reel to be watched, it has to grab you from the first second. Both visually and in terms of content. But the dramaturgy is also crucial to getting your message across.
Gimbals
One way to produce visually compelling footage is to create exciting camera movements. I use a gimbal for this. It stabilises the camera and enables many exciting settings. Some gimbals allow you to control functions such as focus and REC start/stop via USB-C. This is very helpful as your hands are not directly on the camera.
The lens
With a gimbal, you can have both smooth wide-angle flights and exciting motion parallax at longer focal lengths. I wanted to use both on this reel. That's why the RF 15-35 mm and the RF 50 mm are mounted on the camera. Both lenses are similar in weight, so balancing them on the gimbal is quick and easy.
Resolution and recording format
Reels live from montages, effects and eye-catching looks. That's why (and because we can) I choose 8K RAW. Yes, it may be considered overkill, but once you experience the possibilities in post-production, you will choose this format more often.
Assistance functions
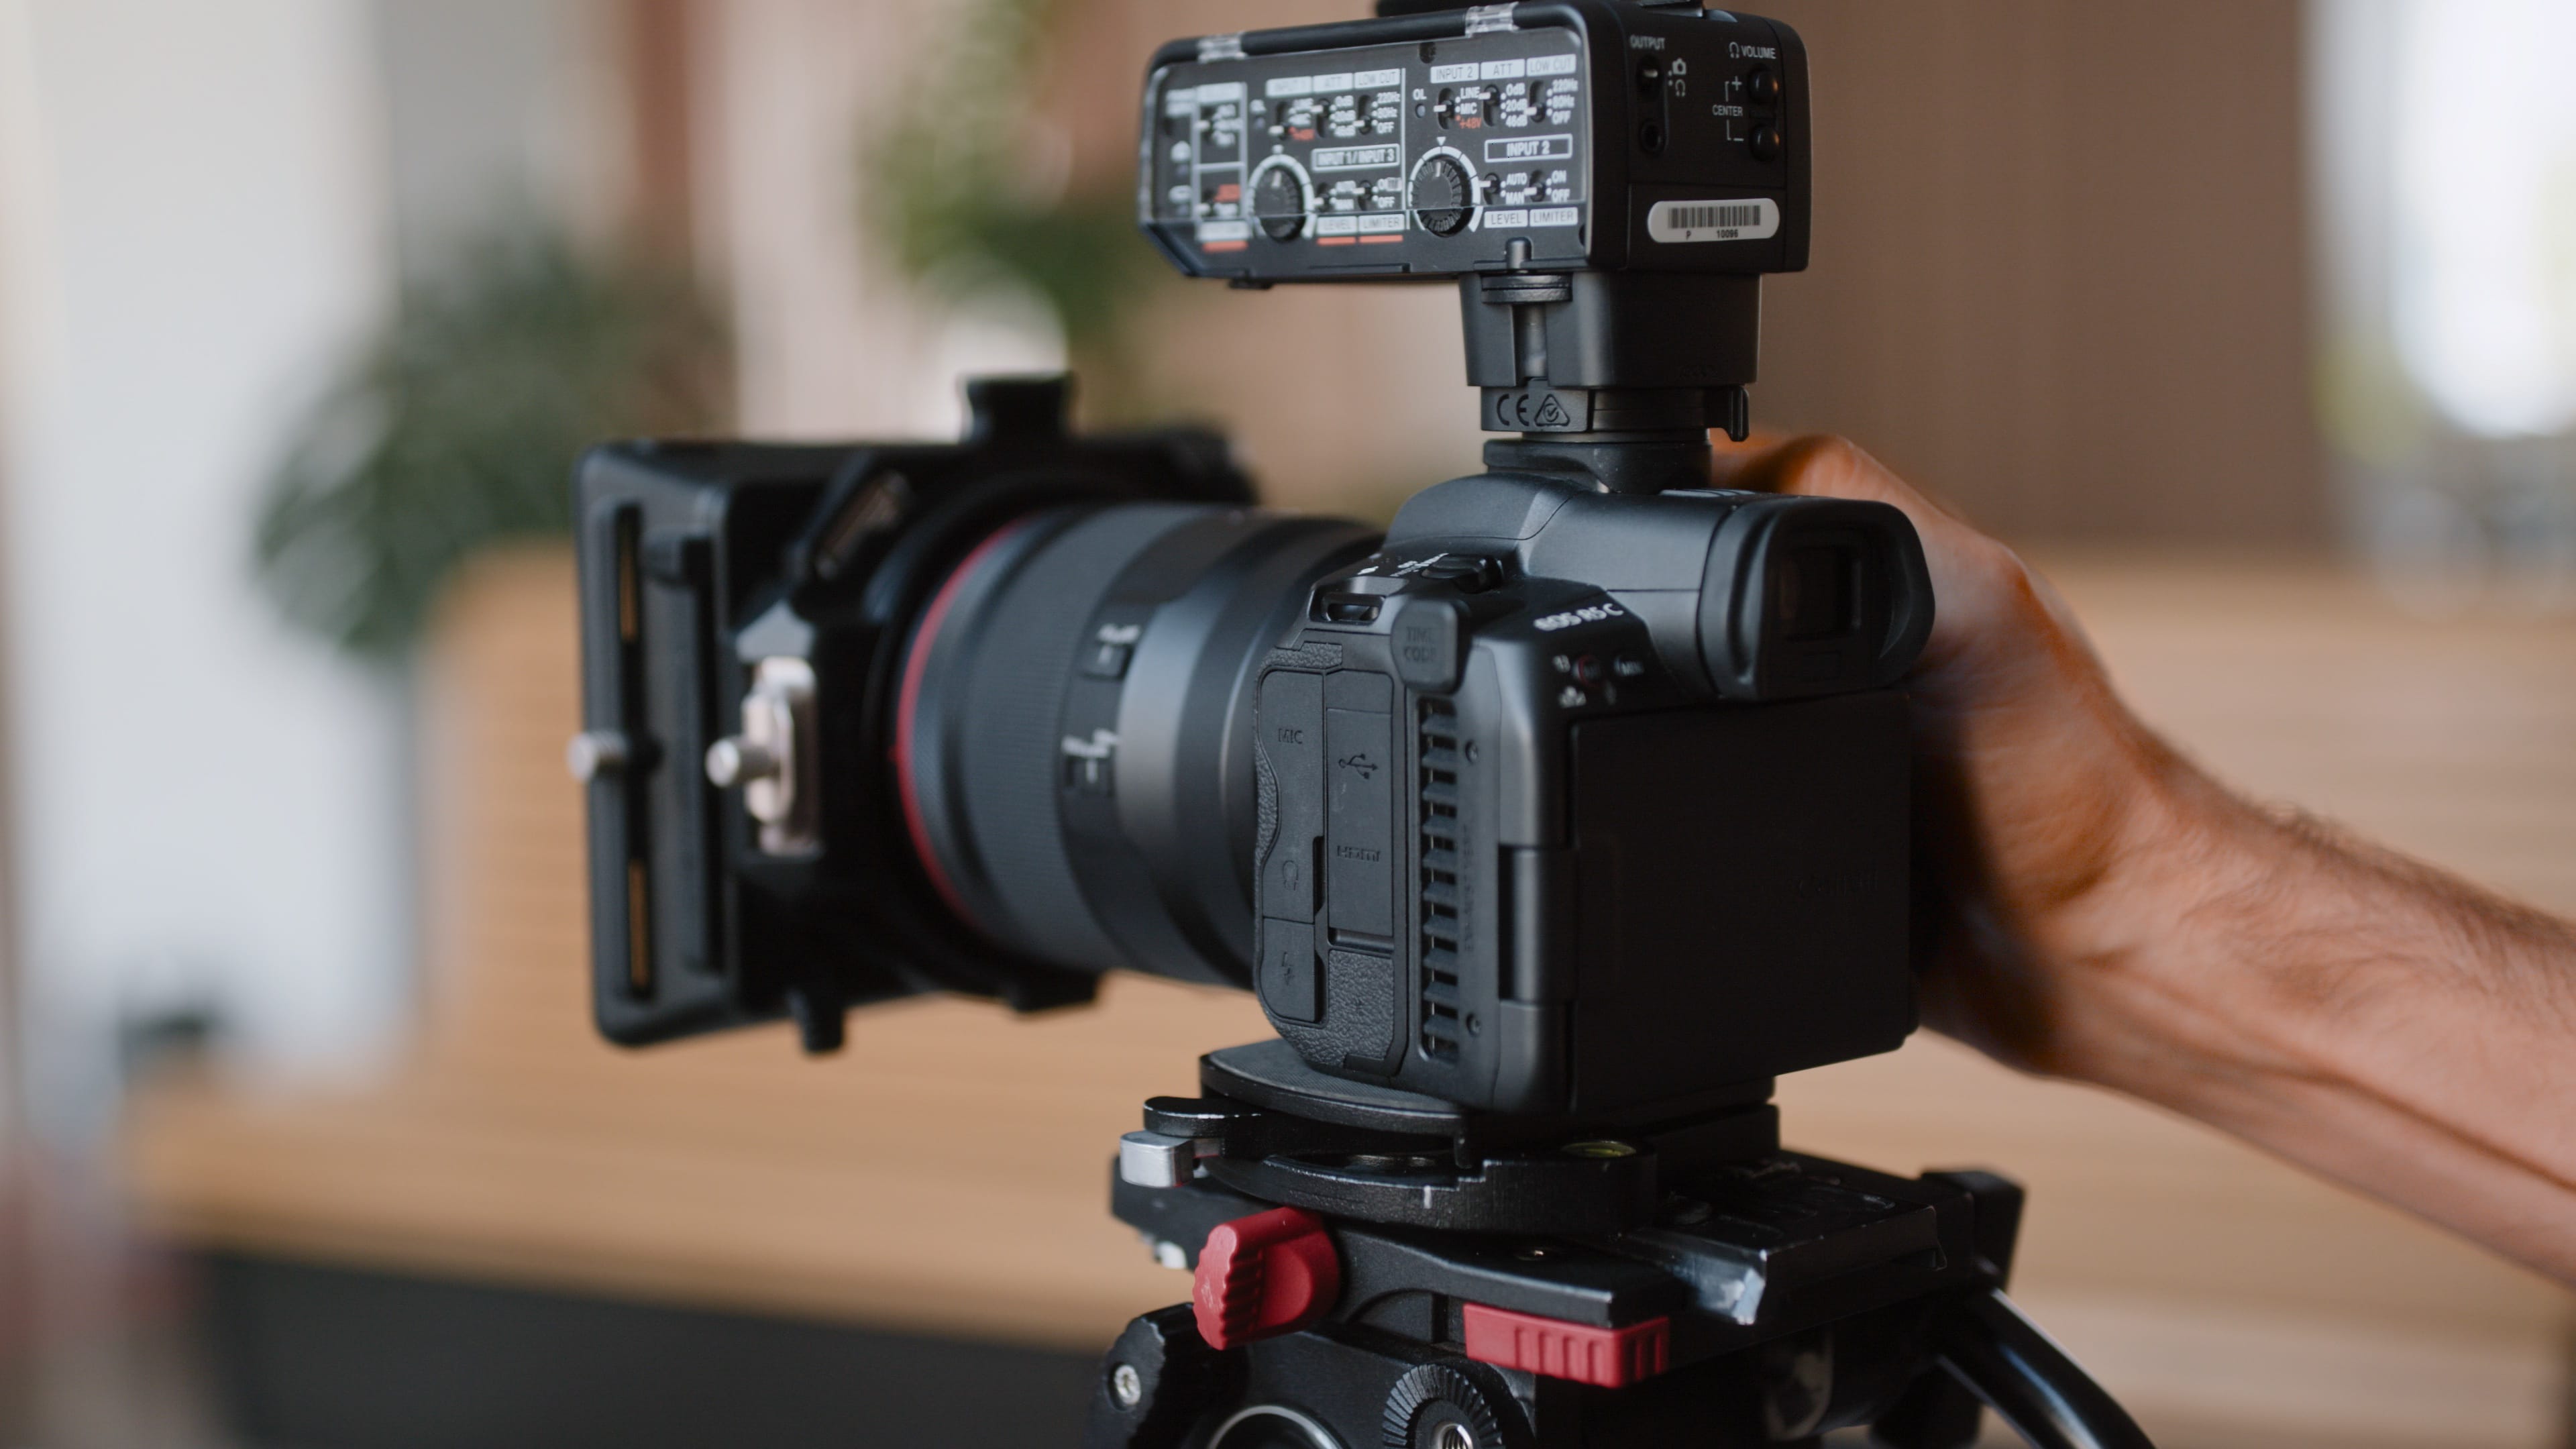
Thanks to its two modes (photo/video) and two operating systems, the EOS R5 C is 100% at home in both worlds. You can enjoy the optimised menus and functions when taking photos, and access the familiar assistance functions from the Cinema line in video mode. These include a large, configurable waveform. So you can control exposure and know exactly what you are shooting.
Post-production and proxies
To edit 8K RAW, you need computing power. If you don't have that, you can work with proxies. These are smaller video files that the camera can record automatically. You can link these together in the editing programme and massively improve performance in the edit.
Grading and LUT
RAW gives you the most stable foundation for getting the most out of your recordings. You can decide for yourself whether you want to work in CLog2 or CLog3 and build up the grading step by step. If you're in a hurry, use a Canon LUT and you're just a few clicks away from an atmospheric image.
