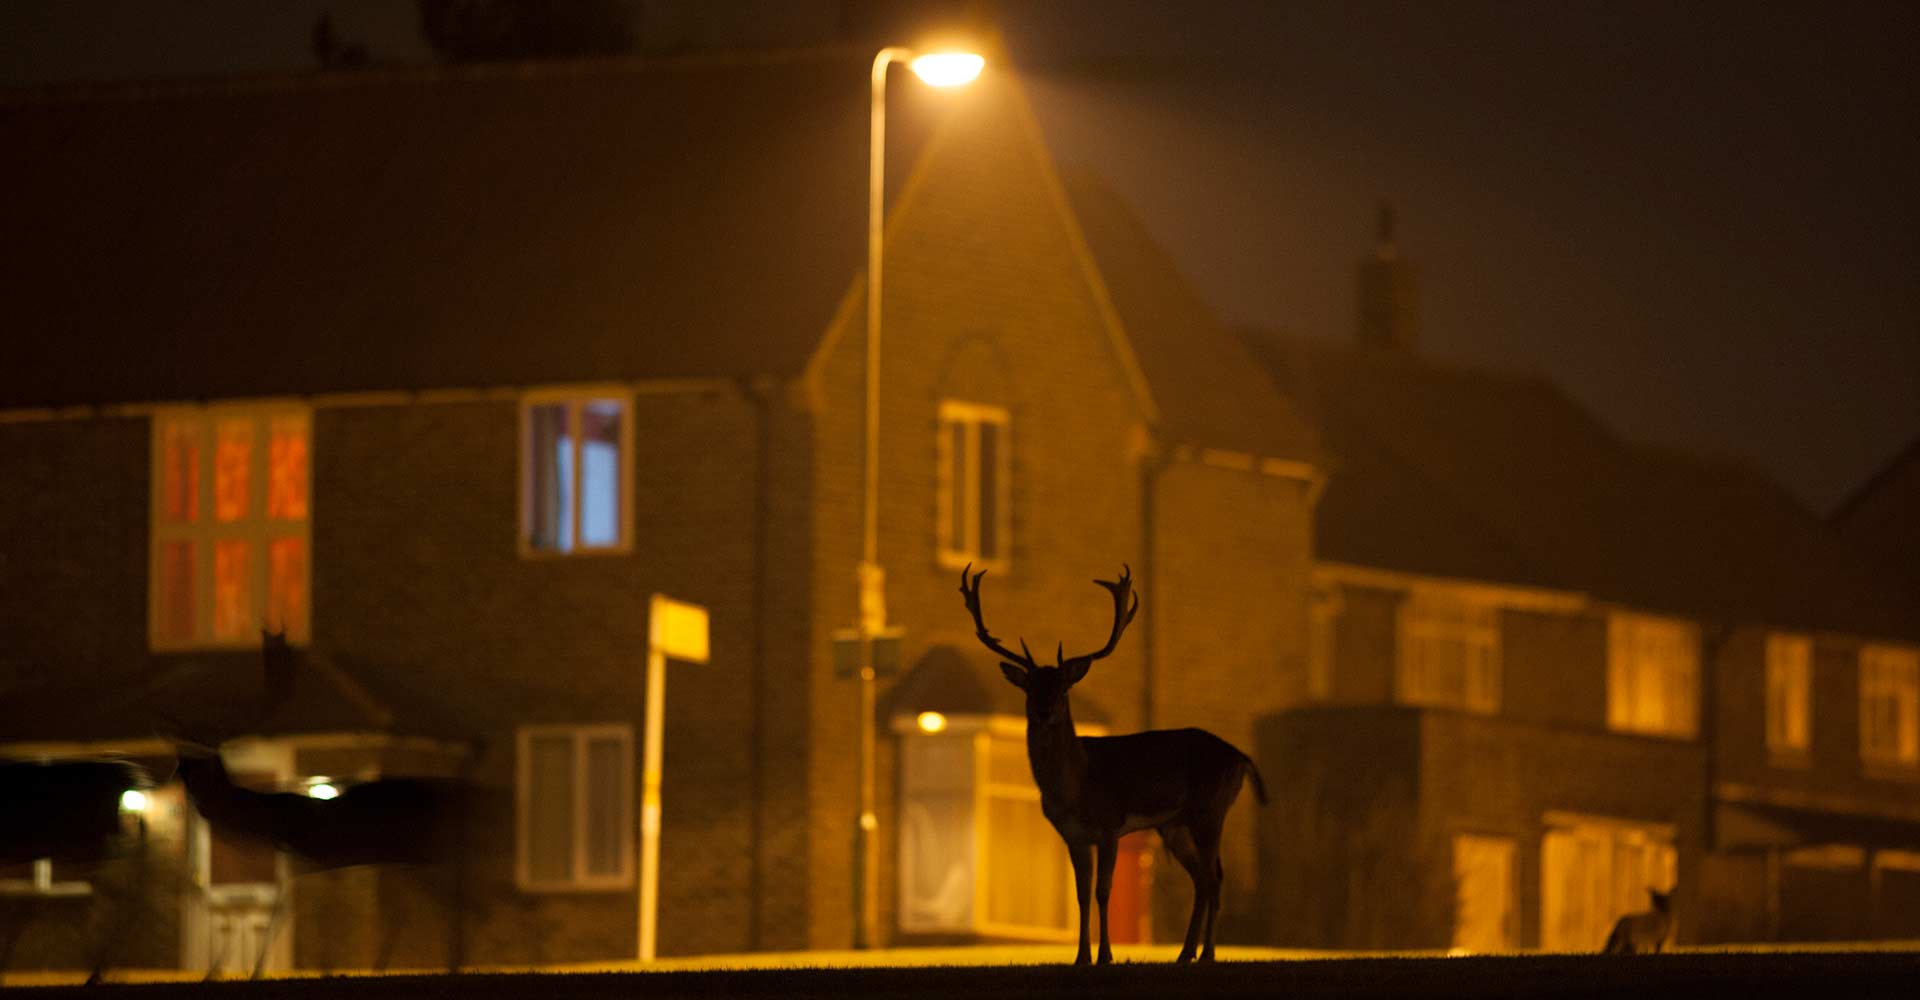
Any autofocus system can cope with bright daylight and good lighting. And the AF systems on modern EOS system cameras can cope with low light too. There are a few tricks you can use to improve focusing in extremely low light.
It's important to know that the camera's autofocus is based on structure and contrast. If you try to focus automatically on a monochrome, featureless wall, for example, you will probably fail: the autofocus has nothing to 'hold on to'. So if the ambient light is too dark to detect contrast and structure, the autofocus may stumble: The autofocus motor wanders back and forth, the autofocus point in the viewfinder flashes, and the AF confirmation beep - if it is on - remains off. What can you do now?
AF assist light on camera and flash
Canon cameras have an AF auxiliary light that projects a pattern onto the subject, which is then recognised by the autofocus system and used to focus. This AF assist light is activated in the AF menu. It has a limited range and is ineffective, for example, in long-distance or landscape shots. Most Canon Speedlite system flashes also provide a powerful AF assist light to help you focus in the dark.
Technical aids
The electronic viewfinder and LCD display are a great help in brightening up dark subjects. This is achieved by activating exposure simulation, found in the red EOS camera menu. The electronic viewfinder also allows you to zoom in on your subject. Manual focusing is now easier - especially when the camera is on a tripod.
You can use either the viewfinder or the rear LCD screen. There are also focus aids for manual focusing, such as focus peaking, where the edges of the image you want to focus on light up in colour, and markers that have to be aligned. Only the EOS R and EOS M mirrorless cameras have an electronic viewfinder. The DSLRs also offer Live View focusing, but only on the rear LCD screen and without any focusing aids.
Manual focusing
If the camera's technical aids are not enough to help you - for example, if you want to photograph the starry sky, don't have an electronic viewfinder, or the viewfinder image is too dark to use focusing aids - there are other tricks you can use.
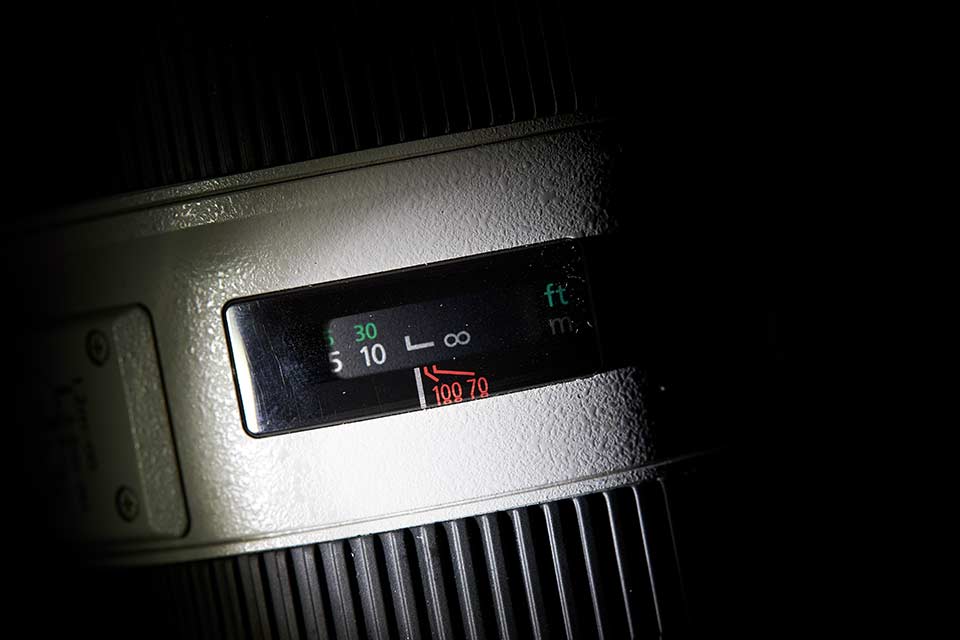
When photographing stars or a landscape at dusk, you might think that you can just turn the focus ring all the way to the left to "infinity" and everything will be in focus. But this is not the case, because the focus ring goes beyond infinity. If you want to use this method, on lenses with a distance indicator, you have to turn the ring so that the small angle before the ∞ matches the index mark. Newer lenses no longer have this indicator. Of course, you can increase the depth of field by using a smaller aperture. However, the exposure time or Auto ISO value doubles with each f-stop.
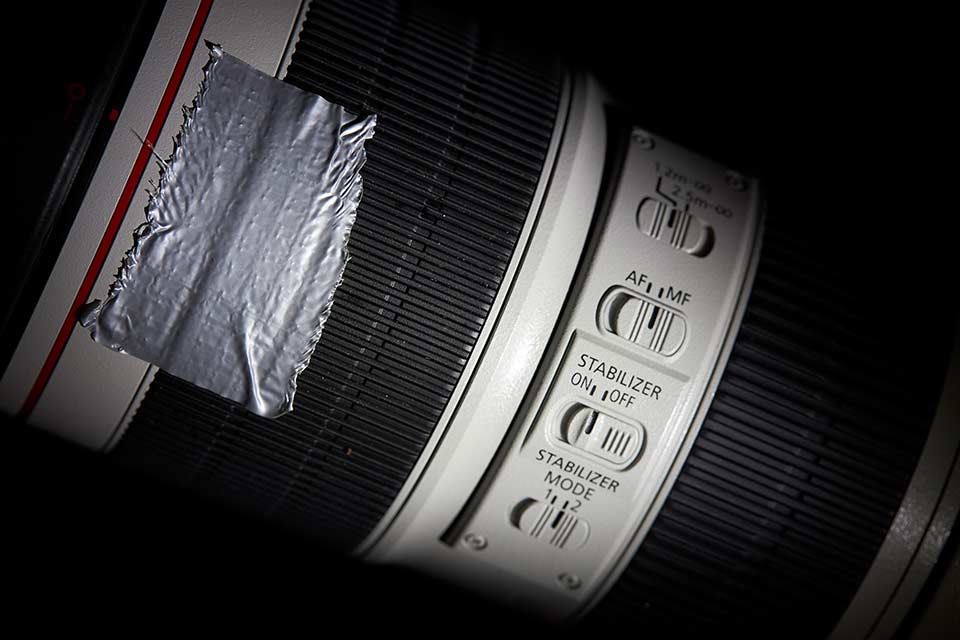
Another trick for pre-planned shots is to focus in bright light. Use manual focus to focus on a distant object, such as a house or church spire. The camera or lens is now set to infinity. You can no longer adjust the lens or switch to autofocus mode. It is best to secure the lens ring with a piece of tape. When you take the picture, everything in the distance will be in focus. It is advisable to place the camera on a tripod, as this allows you to set a very long exposure time in very low light. This also works for close objects that you pre-focus in bright light.
In the dark, you can also aim at distant points of light, such as illuminated houses or street lamps, and use them to focus. At long distances, the difference in distance is negligible.
Checking the focus
You should always check your results directly on the camera's screen. To do this, zoom in on the display and check that the edges of the important parts of the picture are really sharp.


