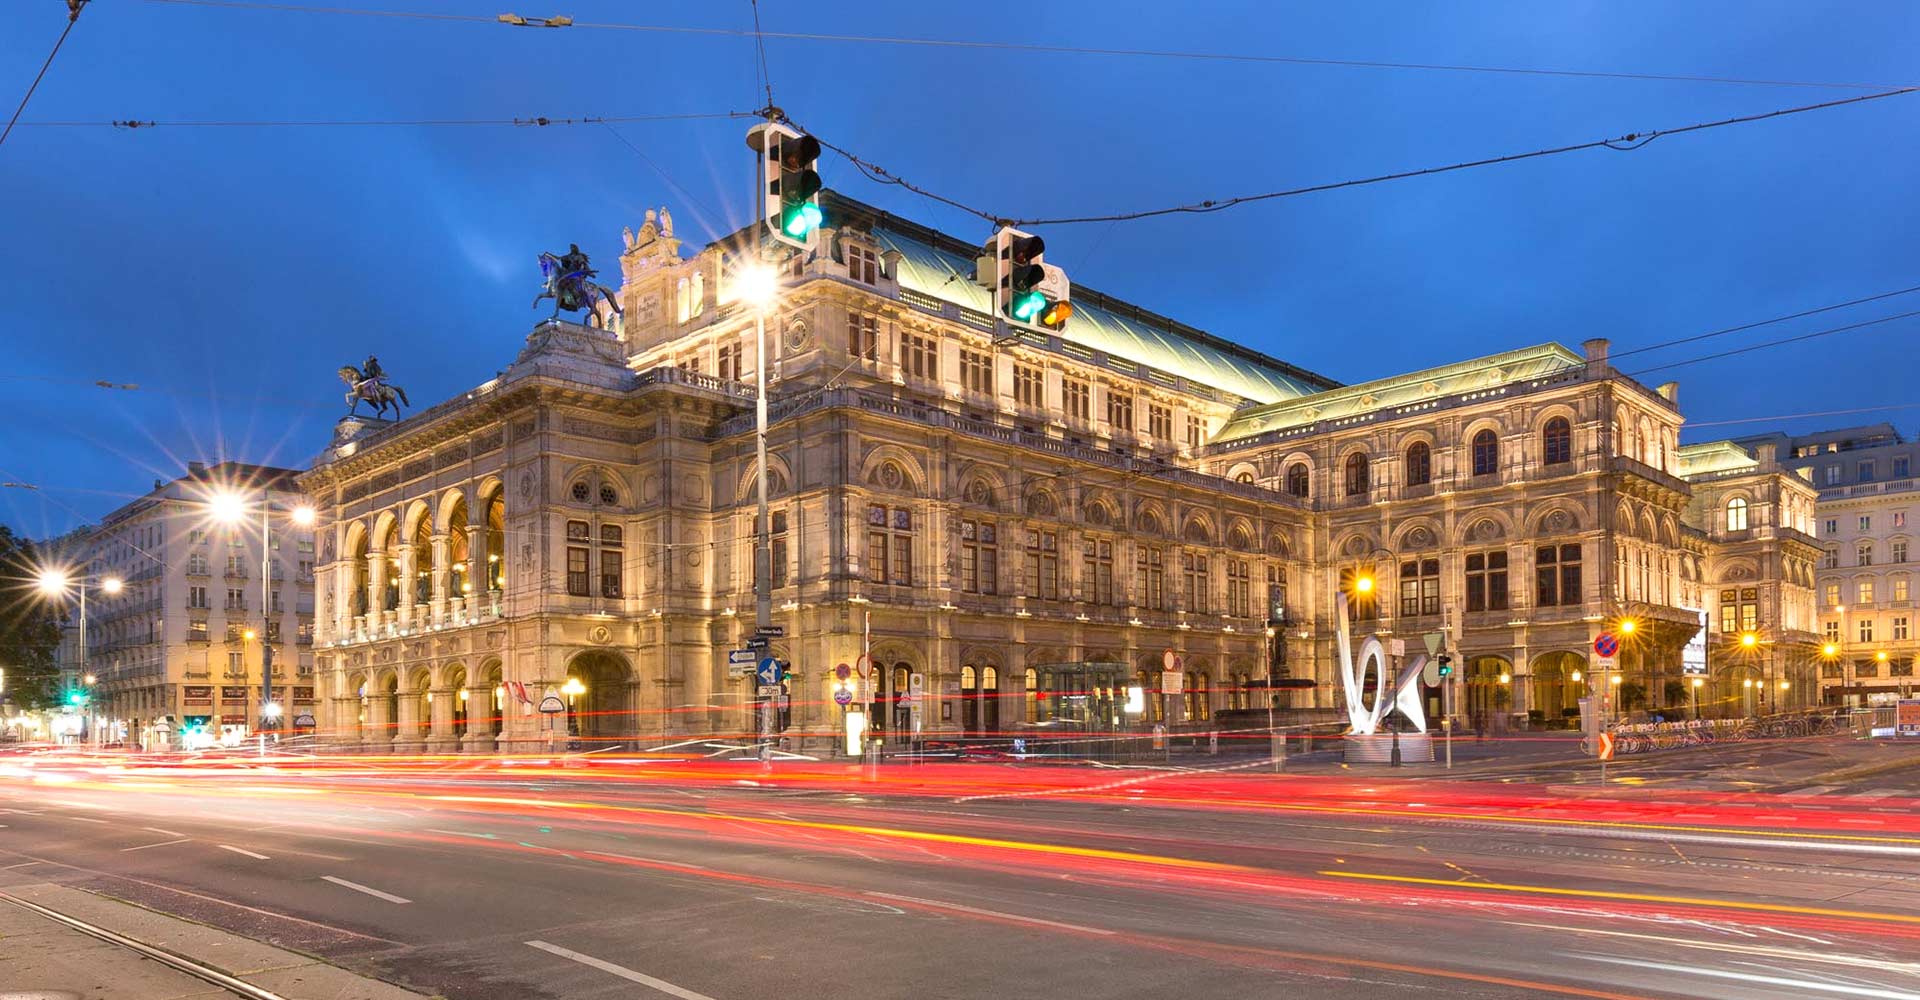
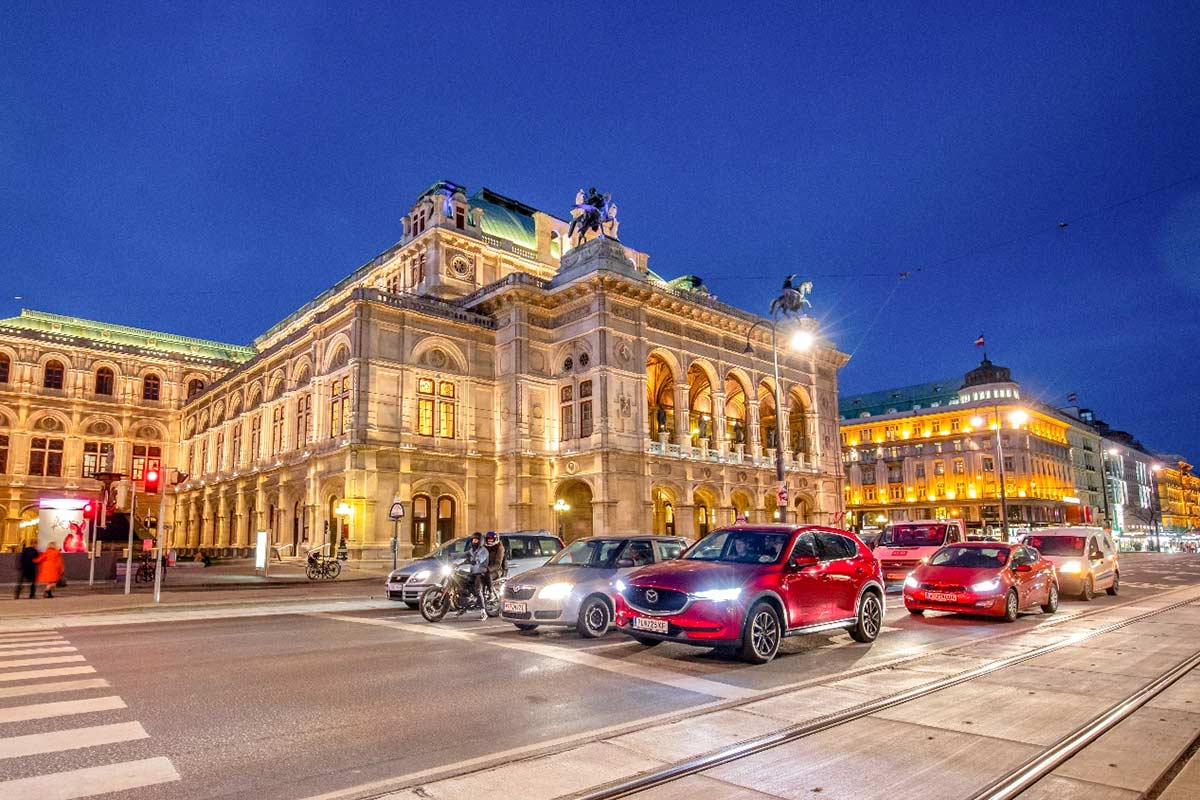
The magic of the blue hour
The term "blue hour" refers to the special colouring of the sky during the twilight period after sunset and before nightfall. The bluish hue can also be seen at dawn, but the blue of the sky then has a different spectral composition, as it is due to a different physical cause than during the day.
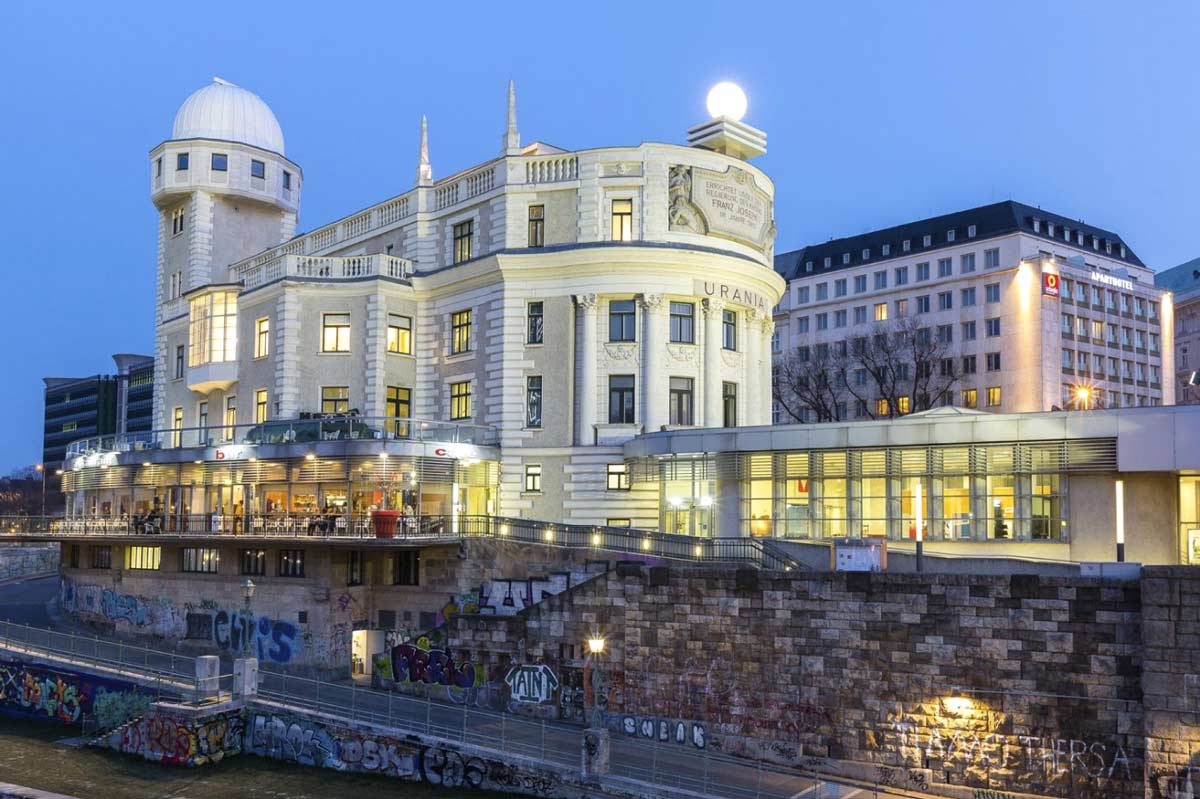
Especially in winter, when it is very cold, the colours are often incredibly intense. But even during the rest of the year, often after a rain shower, there are great light moods in the sky during the blue hour. The reflections in the water are, of course, best when there is no wind.
What makes the blue hour so visually appealing? At this time, the blue sky has about the same brightness as the artificial yellowish light from building and street lighting. Yellow and blue are also complementary colours, creating a strong contrast that is particularly appealing to humans. In central Europe, the blue hour lasts between 30 and 50 minutes. Latitude plays an important role in the length of twilight. In the tropics, the blue hour lasts 20 minutes, and during "white nights" it can last up to five hours. At the poles, the blue hour (theoretically) lasts for two weeks.
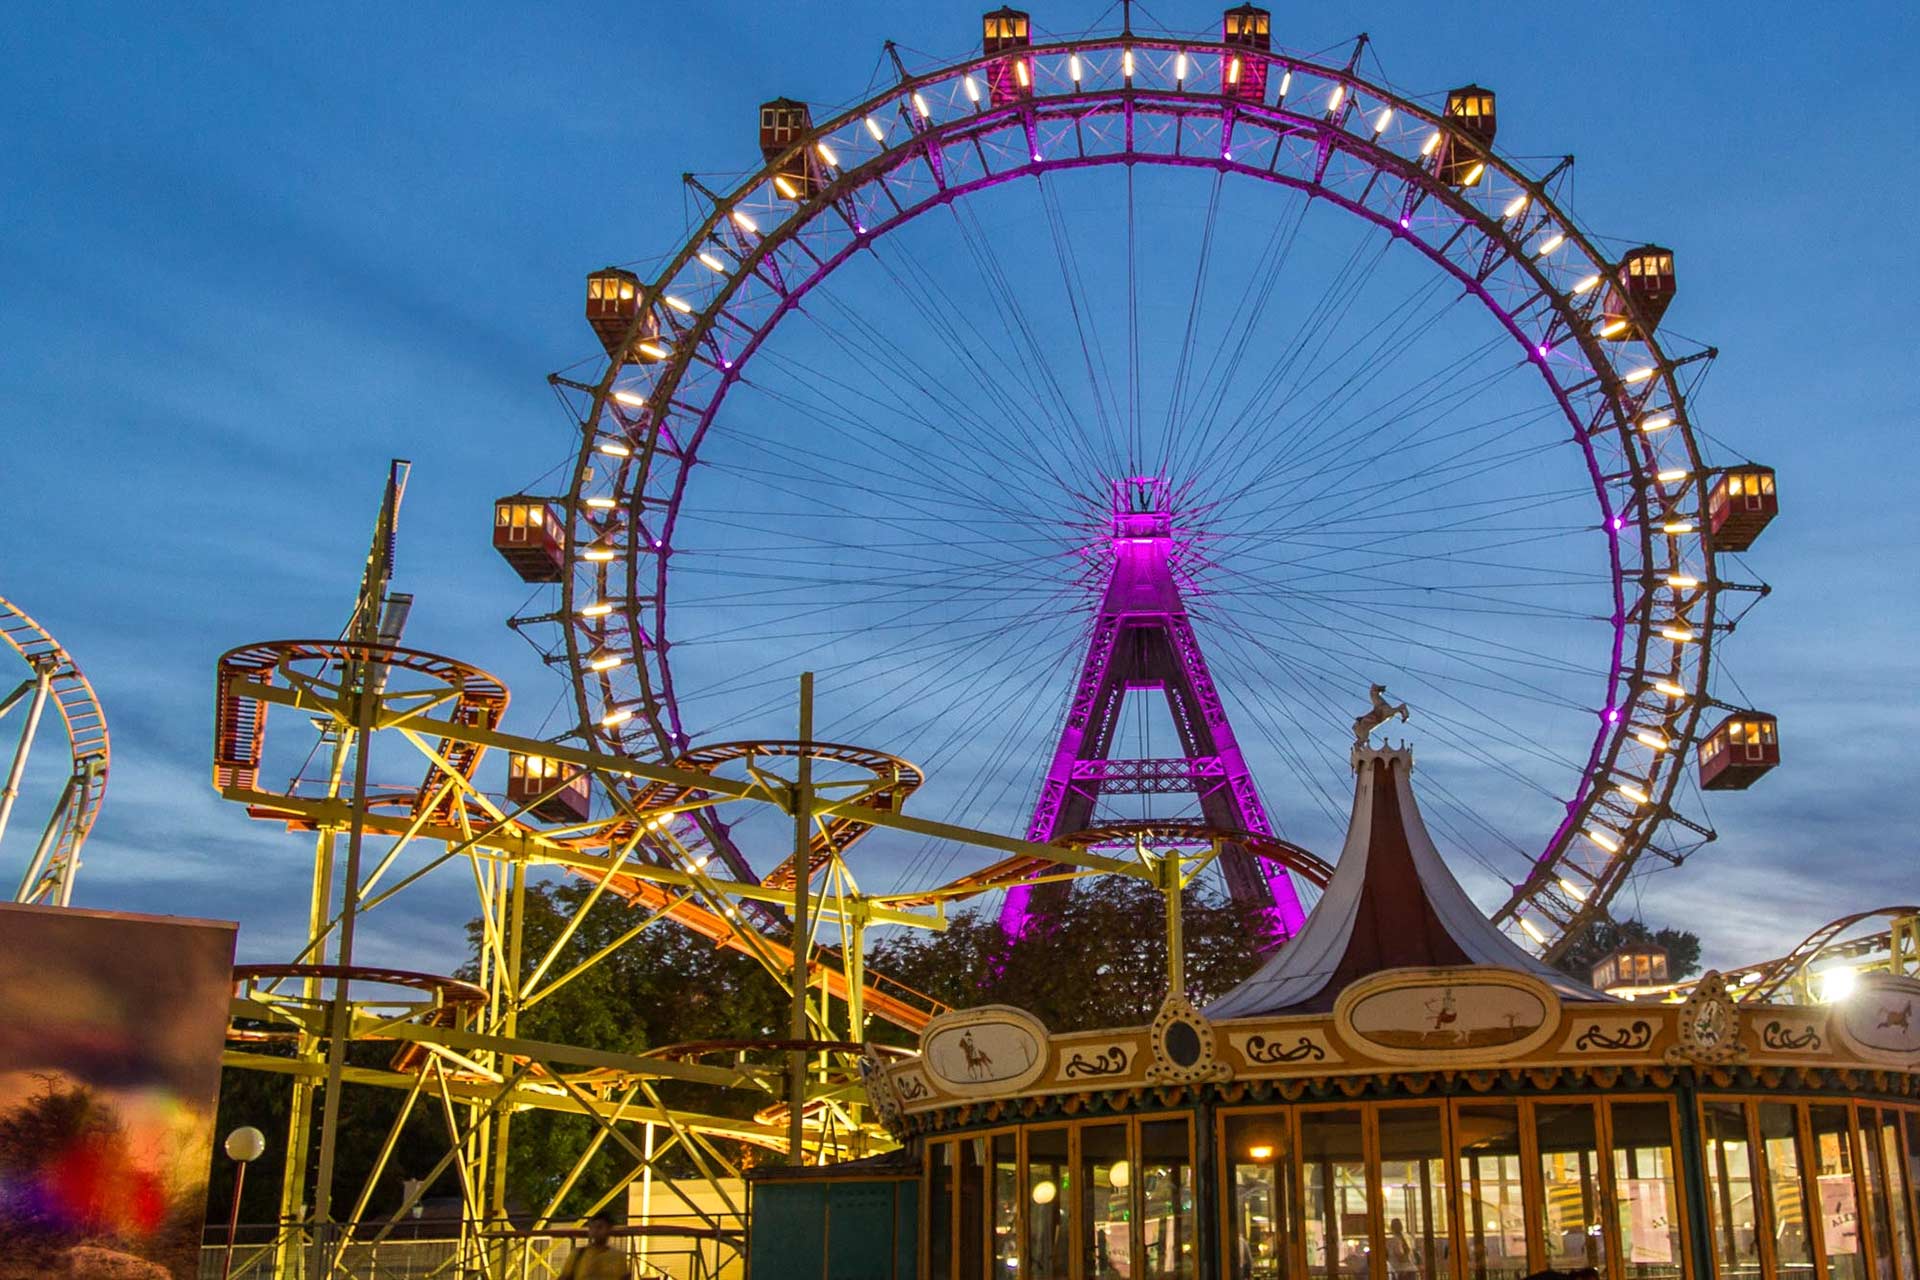
Photographing the blue hour
From a technical point of view, photographing the blue hour is easy: I use the "Av" mode (aperture is preset, exposure time is determined automatically by the camera) or A and I set the ISO sensitivity to a value between ISO 200 and ISO 800. I select f11 or f16 as the lens aperture. For cameras with an APS-C sensor, it is sufficient to stop down to f11. Be careful if you stop down too far: Sensor spots, dirt and lens flare become very visible from f16. The shutter speed is then determined by the camera in Av (A) mode.
If the shutter speed is too slow, you can increase the ISO value. When exposing, make sure that the highlights are not too bright. "Blown out areas" cannot be corrected later. In playback mode, adjust the camera's histogram to show overexposed areas; it should not extend beyond the right-hand edge. The following also applies to blue hour photography: "Expose to the right of the histogram. If the image is underexposed, the dark parts of the image will later become noisy.
For subjects with a very high contrast range, I often take several shots and combine them in post-production to create an HDR (High Dynamic Range) image. The HDR functions of the EOS cameras are a great help here. With many EOS models, the different exposures are stored separately, so you have a finished HDR and can later optimise the individual images on the computer.