Canon Academy

From retro to film noir

Creating picture styles for your EOS with the Canon Picture Style Editor software

Reading time approx. 4 minutes
Helpful?

The Picture Style Editor workspace is divided into a main window and a tool palette.

The Picture Style Editor is a handy piece of software that comes with every EOS. As the name suggests, this easy-to-use software allows you to create individual looks for your images.


You adjust the shooting parameters - brightness, contrast, sharpness, hue and saturation - to your liking and save them as a PF2 or PF3 file. You can load these custom Picture Styles directly into your EOS and set them as Picture Style at the time of shooting, or add them to your RAW workflow in post-production with Digital Photo Professional.

The navigator shows the image section and values


The Picture Style Editor workspace is divided into a main window and a tool palette. You can optionally display the Navigator for orientation. This is particularly useful when you use the magnifying glass button in the main window to enlarge your view.


You can use the buttons at the bottom left of the main window to select before/after views or rotate the image.


Below you will also find information about the working colour space, the colour display mode, and the current position of the mouse pointer and the colour values found there before and after the adjustment.

How to create an individual picture style

Almost any RAW image taken with the EOS with a "CR2" file extension can be used as a base image for customisation. The Picture Style Editor registers your individual changes and saves them independently of the original image.

The basic Picture Style settings allow you to adjust sharpness, contrast, saturation and hue.


The first step in creating your own look is to use the basic settings in the tools palette. Select the style you want to use as the basis for your adjustments. This can be a preset EOS Picture Style (other than Auto or Monochrome), or a ready-made Picture Style downloaded from the Canon website. Then it's time to use the sliders to adjust sharpness, contrast, saturation and hue.


Brightness and contrast can also be optimised in a coordinate system using the tone curve - familiar from classic image editing software. Important: This step should always be carried out before making any changes to the "Six colour axes" and "Specific colours" settings.

You can manipulate the hue in six axes.


Use the Six Colour Axis tools to select the colour range you want to change using the button or, more conveniently, the colour wheel.


You can adjust the upper and lower hue limits for the selected range by redrawing the limit lines for each hue.

Use the eyedropper tool to pick up and change colours and their effective area.

Alternatively, you can enter the HSL values directly (H: adjust hue; S: adjust saturation; L: adjust luminance). You can also use "Specific Colours" to define the area of effect on surrounding colours. Simply select the colour you want to change with the eyedropper. You can change the area of effect for hue, saturation and luminance using a selection box. The 'Show affected area on images' option is very handy. When this is selected, the area affected by the adjusted colour flashes on the image.


Now it's time to experiment, as you can of course select and edit several colours in succession.  Once you have created your own image style, you can save it to your computer using the disc icon in the tool palette and start creating your next look.

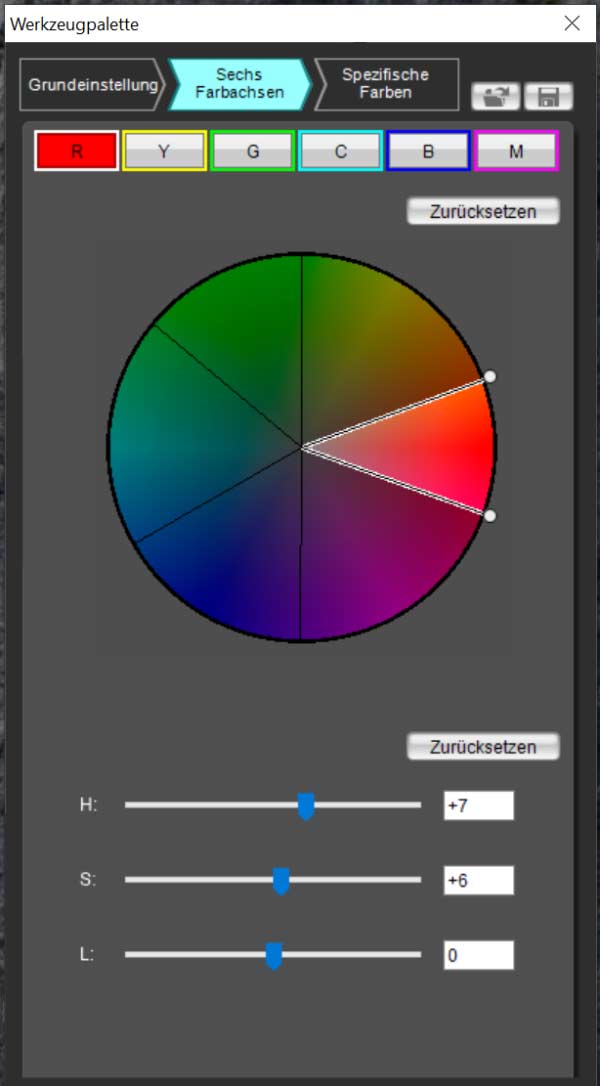
Using the EOS Utility, you can save up to three of your own Picture Styles on compatible EOS models. Compatible in this case means that Picture Styles created with the "Fine Detai" setting cannot be registered on older EOS models that do not have the relatively new "Fine Detail" Picture Style.

Your Picture Style can be added to your EOS in a few simple steps:


With the camera connected, simply click on "Register Picture Style File" in the EOS Utility. Select your memory location from "User Def. 1" to "User Def. 3". Then load your custom image style from your computer. This can be done using the folder icon button. Select your Picture Style file and click the Open button. The image style file will be loaded and saved in the EOS by clicking "OK" in the last step.

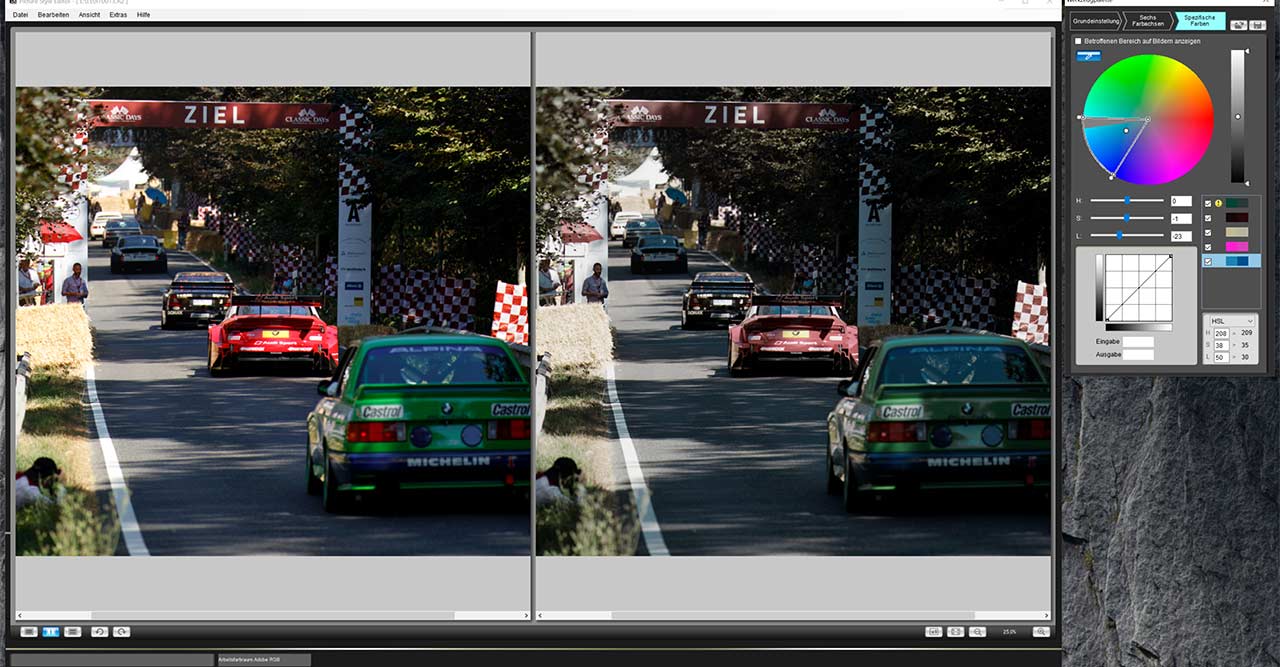
How to integrate Picture Styles into the RAW workflow Canon's free Digital Photo

The free Canon Digital Photo Professional software makes it easy to integrate your own Picture Styles into your RAW workflow. To use an image style, activate the 'Browse' button in the 'Image Type' field of the software. Select the desired PF3 Image Style file from your PC. This will automatically be applied to your RAW file. Done.